Replacing shock absorbers on an Ariston washing machine
 Removing and installing shock absorber springs on washing machines is usually quick. This isn't the case with Hotpoint Ariston models. Due to the design of these washing machines, replacing the shock absorbers takes a considerable amount of time. Partial disassembly is required: removing the electric motor, extracting the drive belt, and another important detail: the tricky locking mechanisms on the racks. Let's explore how to replace the shock absorbers in an Ariston washing machine and describe the work involved in detail.
What is the best way to approach the elements?
You can tell it's time to replace the shock absorbers by the machine's behavior. The washing machine will begin to hum loudly during operation, vibrate, and "jump" around the room. To confirm the diagnosis, you'll have to partially disassemble the unit. Wear of dampers can lead to more serious problems, so repairs should not be postponed. The algorithm of actions will be as follows:
- de-energize the Ariston SMA;
- close the shut-off valve;
- disconnect the drain "sleeve" and the inlet hose;
- Move the washing machine to a place where it will be convenient to work with;
- drain the remaining water from the machine through the waste filter;
- remove the powder container;
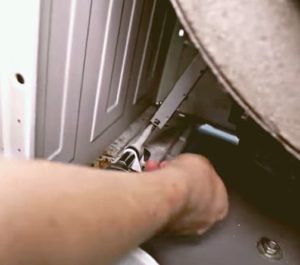
- remove the rear panel of the machine (to do this, unscrew the bolts that secure it);
- remove the drive belt from the drum pulley and engine;
- disconnect the wiring connected to the motor;
To avoid making mistakes during reassembly, it is best to take a photo or draw a diagram of the location of the contacts and wires.
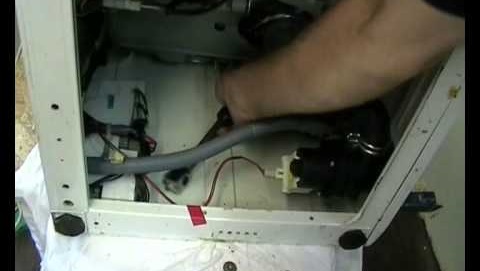
- loosen the nuts securing the engine;
- pry each fastener with a slotted screwdriver to release any stuck joints;
- Pull the motor towards you and pull it out.
Now it's time to remove the shock absorbers. Access to the dampers is only possible from the bottom of the machine. Therefore, you need to lay a rag on the floor and lay the machine on its right side.
Removing a broken part
Removing the shock absorbers from an Ariston washing machine is hampered by special fasteners shaped like expanding plugs. Repairmen call them "nails." Each nail passes through the shock absorber and the plates that hold the stand at the top and bottom. The plug appears completely smooth, which makes it difficult to remove from the housing.
Repairmen advise against trying to access the lock from the other side with a screwdriver. This increases the risk of damaging the fragile plastic covering. You'll have to upgrade the damper's delicate locking mechanisms. This can be done as follows: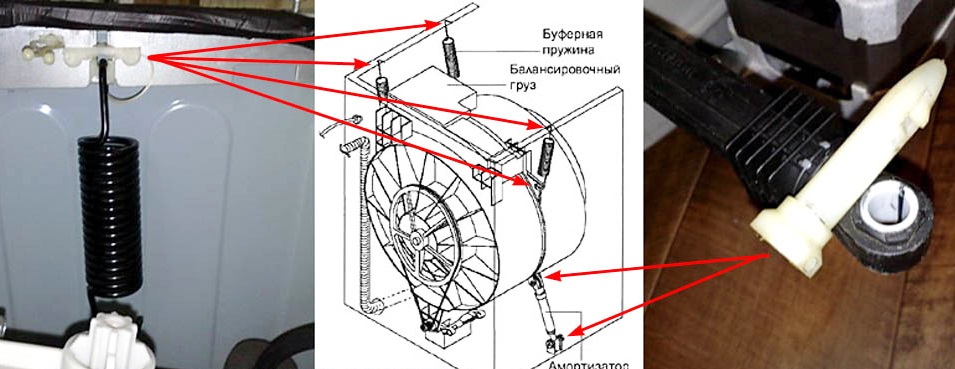
- take a drill 2-2.5 mm in diameter, 20 cm long;
- using a drill, drill a shallow hole (about three centimeters) in the middle of the cork;
- screw a self-tapping screw into the hole you made so that it “sticks out” by about 4 cm;
- Use pliers to clamp the screwed-in bolt and pull it towards you;
- carefully remove the screw with the plug;
- remove the shock absorber from the grooves.
To remove the second damper, repeat the procedure described above, turning the washing machine over onto its left side. It's crucial to find a drill bit of the appropriate diameter and length.
If you can't get to the shock absorber struts even in this way, you'll have to remove the washing machine tank and try again.
We purchase and install a new spare part
Naturally, replacement shock absorbers will require new ones. Hotpoint Ariston washing machine parts can be purchased at service centers or online from suppliers. To select the appropriate damper, you should know the brand and serial number of the washing machine model. You can also remove the worn part and show it to a consultant, asking for a similar part. To replace the strut, you'll need to follow these steps: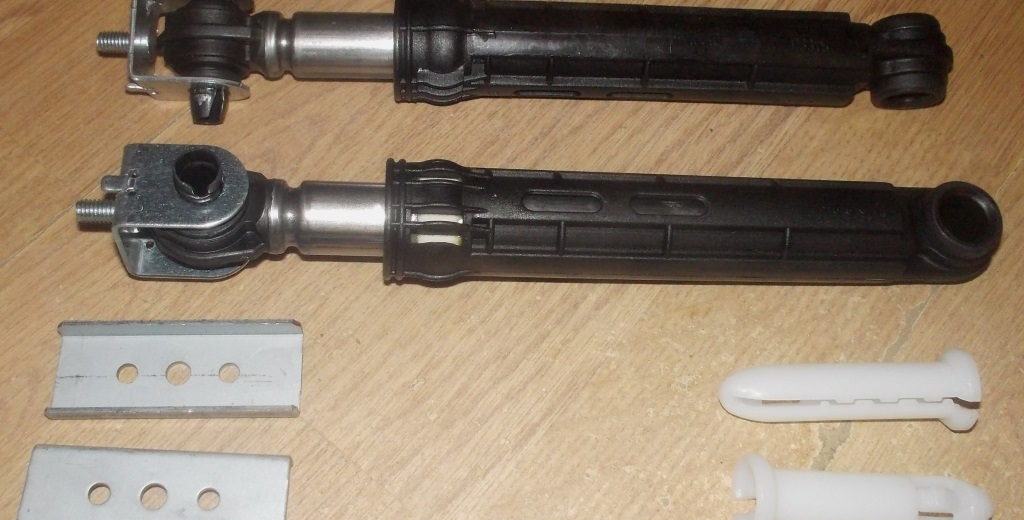
- Insert the damper with force until it fits into the special grooves;
- take the previously removed plug and carefully drive it into the shock absorber hole through the two partitions;
- set the drill to reverse mode and unscrew the screw from the retainer;
- make sure the fastening is secure;
- Repeat the same steps with the second stand. To do this, you'll need to turn the machine over again;
- put the tank back in place (if it was removed);
- attach the electric motor in place and secure it with fasteners;
- connect the motor power supply wiring;
- put on a pulley drive belt.
This completes the bulk of the work. Return the machine to its upright position and secure the back panel in place. Afterward, be sure to test the washing machine. To do this, run the "Spin" mode at maximum speed. If the previous shaking is no longer observed, the replacement was successful. If the "jumping" and strong vibration persist, disassemble the machine again and tighten the damper clamps.
Interesting:


1 reader comment
Add a comment
Headings
Washing machine repair


For buyers


For users


Dishwasher


I worked as a mechanic for 18 years and never saw a 2 mm drill bit 20 cm long.