How to change the drum in an Indesit washing machine
 Even the most modern and technologically advanced washing machines can fail if handled improperly or carelessly. If a hole suddenly appears in the plastic drum of a washing machine, it's most likely caused by improper transportation, a fall, or another accident. If the damage is extensive and cannot be repaired securely, the drum of your Indesit washing machine will need to be replaced. The drum of these machines is non-removable, so the entire drum-tub assembly will need to be replaced. Today, we'll show you how to replace this part yourself.
Preparatory activities
First, you need to thoroughly prepare for this type of repair. To do this, you need to have all the essential tools you'll need for the replacement. There's nothing unusual on this list that wouldn't be found in a standard tool kit every man keeps at home. Prepare the following for the job: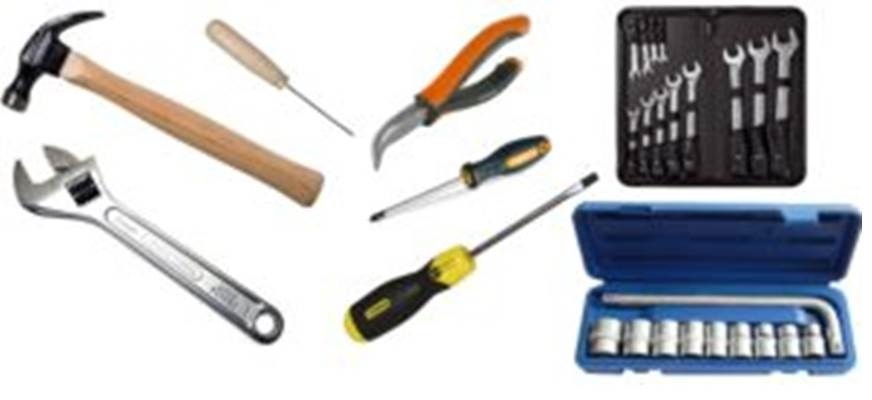
- hammer;
- screwdrivers with different bits;
- screwdriver;
- pliers;
- side cutters;
- hexagons.
We will also need to purchase a brand new "Tank-Drum" unit, but do not purchase it in advance, as you may choose the wrong marking, so first remove the old tank and only then look for a replacement.
Once you've gathered or purchased all the repair tools, start preparing the washing machine itself. The replacement will likely take you a full day, so it's a good idea to set up a comfortable workspace beforehand to ensure nothing distracts you or interferes with your work. A garage or a large living room would be best for this purpose, so that there is enough free space.
If moving the device to a non-residential area is not possible, it's best to vacate the entire room or at least part of it and cover the floor with a thick cloth to prevent damage to the flooring during any handling. Only then should you begin restoring your home assistant.
Replacing the drum unit
Don't rush to move the machine from the bathroom or kitchen. First, disconnect it from all utilities and drain any residual water that typically remains at the bottom of the tank after a cycle. To drain the water, you'll need a large container, such as a basin, placed under the machine. Then, remove the waste filter and slowly drain the water. The filter also needs attention: remove debris, rinse, dry and leave alone until the repair work is completed.
When disconnecting wires and other small parts of the washing machine, be sure to take photos of how everything was originally connected so you don't get confused later when reassembling.
Let's move on to replacing the drum assembly in your Indesit washing machine. Don't rush the process, as this can cause further damage. Follow our instructions carefully, and everything will be fine.
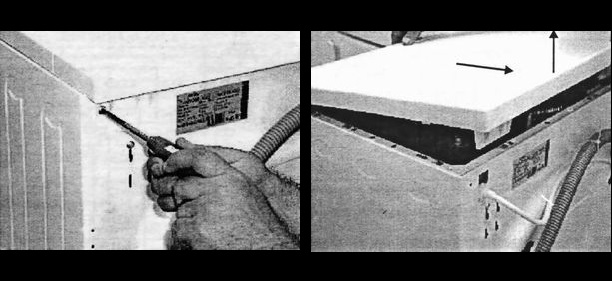
- Remove the top cover of the washing machine by unscrewing all the screws located on the back of the machine (at the top, under the lid protrusion). If you push the cover back slightly and pull it up, removing it will be much easier. Set the cover aside to keep it out of the way.
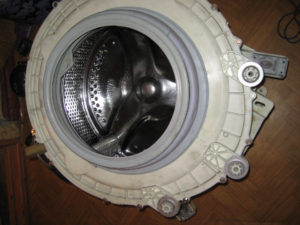
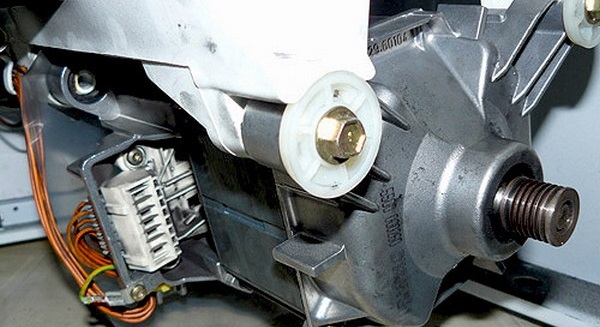
- Now you can see the drum and drive mechanism of the machine. Be sure to disconnect the drive belt and inspect the inside of the machine. If you see rusty streaks coming from the center of the drum, the seal and bearings are damaged.

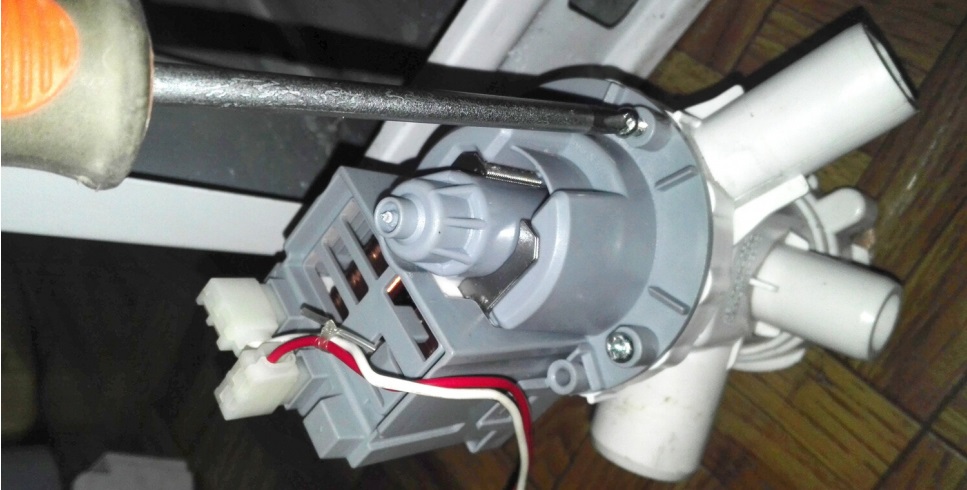
- Begin disconnecting the cables and wires attached to the drum. This will disconnect the heating element and temperature sensor. The heating element should be free of scale and damage; otherwise, you'll need to either thoroughly clean it or buy a new one. Also, don't forget to remove the bolts that secure the washing machine's motor.
- At this stage, it is necessary to remove the heater mounting nut and pull out the element with slow rocking movements.

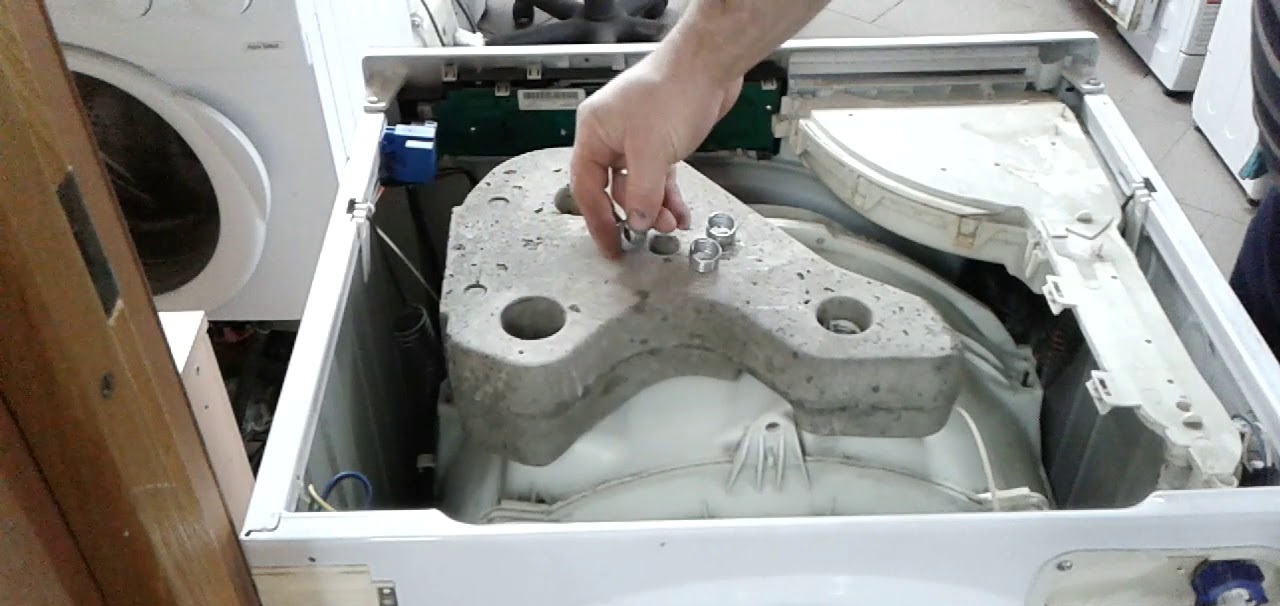
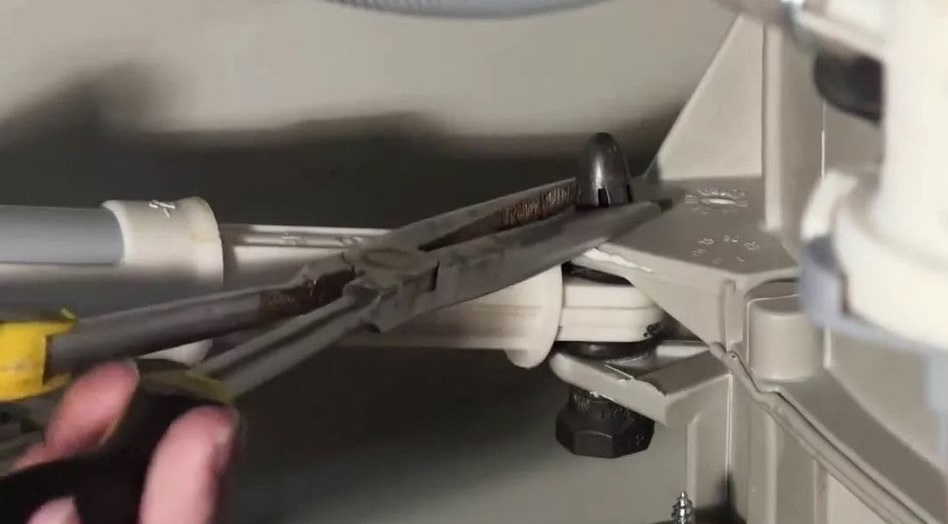
- Remove the counterweight located on top of the machine. This large component will be clearly visible immediately after removing the top cover. This component prevents the appliance from bouncing and moving around the house. To remove it, use an Allen key to loosen all the counterweight fasteners.
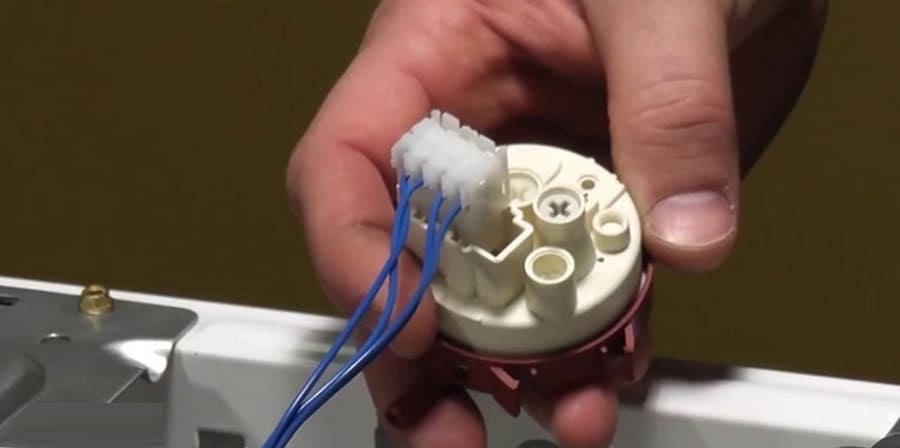
- We remove the wires and hose from the pressure switch, and then pull out the level sensor itself.
- We remove the detergent drawer and powder dispenser from the washing machine, having first loosened the hose clamps.
- Carefully lay the machine on its right side. Inspect the bottom of the machine—if there is one, it needs to be removed. To do this, remove all the screws located on the sides of the dust filter and push the snail housing the filter into the body of the machine.
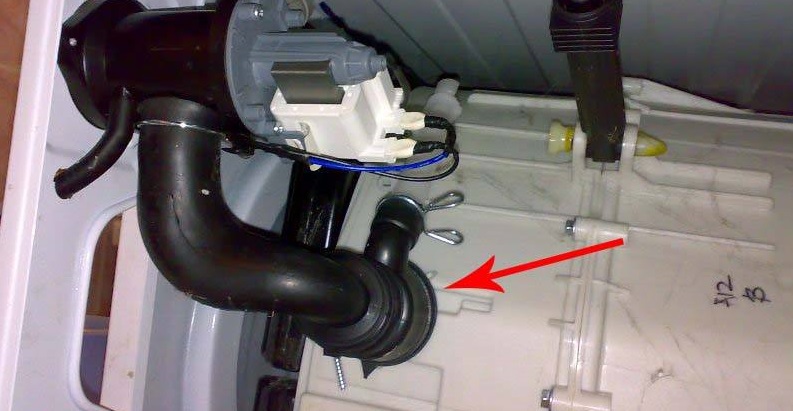
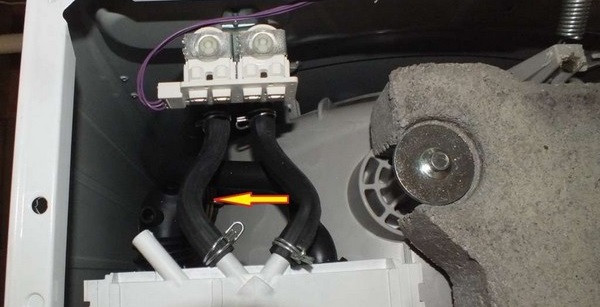
- We remove the connector with wires from the pump, loosen the clamps, remove all the pipes from the pump, and then the pump itself.
- We remove the heavy engine of the device, which needs to be released back a little and pulled down.
- Now you need to unscrew the shock absorbers that support the tank from below.
- Carefully return the Indesit appliance to its upright position. Since the tank and drum are now secured to the machine by only two springs, all manipulations should be performed slowly.
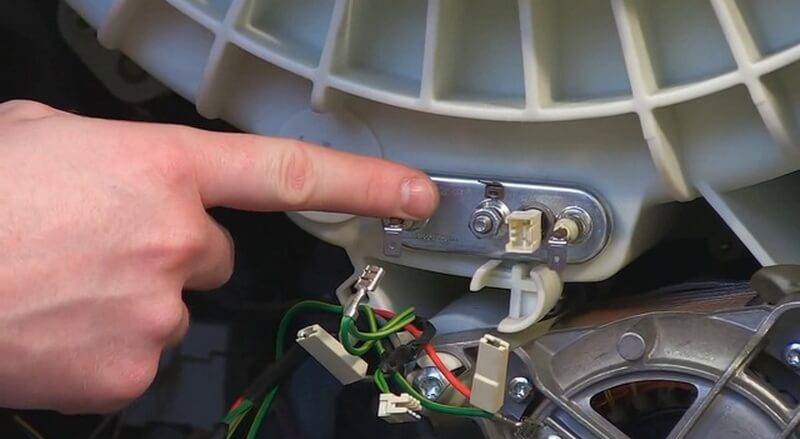
- If the control module prevents you from removing the drum, you need to disconnect it. To do this, disconnect the wires, remove the mounting bolts and supporting latches, and then remove the control module itself.

- Finally, all that remains is the drum unit itself, which is very difficult to remove on your own, so it is better to call for help. With the help of an assistant, you can easily remove the element from the shock absorbers and pull it out through the top of the washing machine.
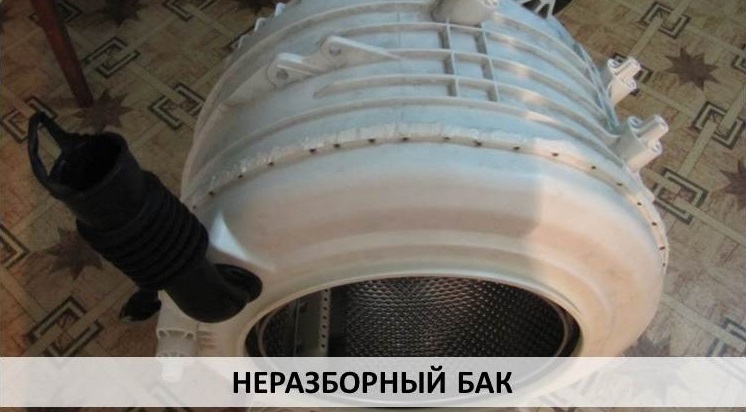
This completes the disassembly of the washing machine. The fifteenth step is purchasing a new tub and drum assembly and installing it in the appliance. From there, follow the instructions exactly as described, but this time in reverse order.
The first step is installing the drum assembly into the machine body, which requires hanging it on springs and connecting it to the shock absorbers underneath. Next, install all the remaining parts and run a test wash to check the functionality of your home assistant. If the test runs smoothly, the repair is complete.
Interesting:


Readers' comments
Headings
Washing machine repair


For buyers


For users


Dishwasher


Add a comment