How to replace a capacitor in a washing machine yourself?
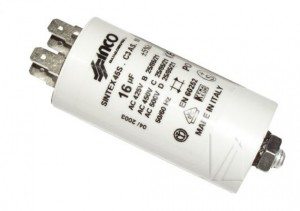
If your washing machine's motor refuses to start or starts with difficulty, the capacitor may be the problem. However, since this component is located on the control board, inspecting it and, if necessary, replacing it will require disassembling the entire washing machine panel. Let's look at how to diagnose and replace the capacitor in your washing machine.
Why is the capacitor suspect?
It's all quite simple here. You can clearly hear the machine starting the motor, but the drum barely spins, or even stands still. If things get really bad, the washing machine doesn't even respond to the start button, and the indicator lights on the control panel flicker erratically and asynchronously, signaling a malfunction. Another sign of a faulty capacitor is the drum spinning in one direction only.
Please note: Capacitors cannot be repaired; if damaged, they can only be replaced.
If one of the above symptoms matches the behavior of your washing machine or you have even the slightest suspicion of a problem with the capacitor, you must first inspect it and then, if a problem is detected, replace the part.
Let's get to the details
Even when dismantling a washing machine simply involves removing the dashboard, careful preparation is essential. There are adjustments to be made, and there are replacements to be made, so a comfortable workspace is essential. Most importantly, don’t forget about safety precautions when doing repairs! Even a novice “master” can handle the preparatory steps.
Find a spacious room. A bathroom or closet of 1.5 square meters won't be enough space. It's best to move the unit to a hallway or kitchen, or even better, a garage or something like a workshop. Even 4 square meters is much more convenient for working with a washing machine.
Cover the floor of the room with newspapers or old rags.
Now disconnect the washing machine from all networks and transport it to the prepared location using a method convenient for you.
Slide the powder compartment out and remove it from the housing.
Open the service hatch and drain the waste water from the lower pipes through the emergency drain.
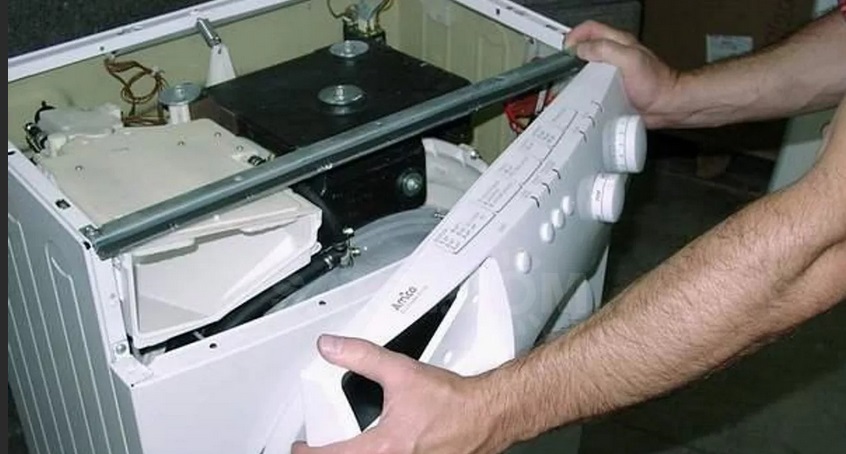
At this point, the preparation is complete. Now, feel free to begin the inspection. Removing the control panel requires removing the top cover of the washing machine. To do this, unscrew the bolts holding it in place at the back, then lift the cover and slide it away from you slightly. The control panel bolts are located near the dispenser niche. Loosen the screws, then look at the latch on the left side of the upper corner of the washing machine, and do the same. Next, remove the bolts holding the panel in place at the top, then simply lift the panel up and remove it.
However, there are some challenges. Avoid any sudden movements, otherwise you risk breaking the wiring or damaging something else. Also, remember that the intake valve is equipped with a wire connection that needs to be loosened. Finally, label the wires so that you don’t mix up the connectors during subsequent assembly, or take a photo.
The control board is attached to the module housing with small screws. Once these are removed, the board itself can be removed. Now all that's left is to find the "culprit of the occasion"—the capacitor—and inspect it for damage, replacing it if necessary.
Checking the part and replacing it
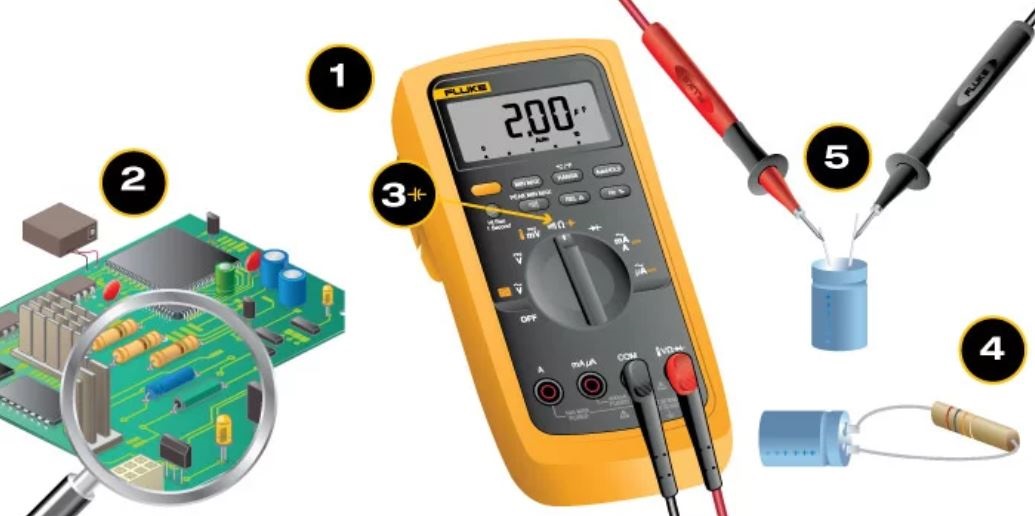
To objectively evaluate the component's performance and for greater convenience, it's best to separate the capacitor from the board. This will ensure more accurate readings. Now you can begin testing.
Get a multimeter and make sure the capacitor's capacitance is at least 0.25 μF.
Discharge the battery by grasping it by its legs and clamping it with a metal object (a screwdriver or tweezers will do). A spark will indicate success.
Set the multimeter control to measure the resistance of the device.
Find the negative terminal of the capacitor and connect the red probe to it, and connect the black probe to the positive leg.
While the probes are connected to the capacitor's legs, its resistance increases until it reaches its maximum.
Now let's decipher the results. If, when connecting the multimeter probes to the component's terminals, the component starts beeping, then a short circuit has occurred, causing the breakdown. If the multimeter needle immediately points to "1," then there's an internal break.
Note: For properly functioning capacitors, the number 1 appears on the dial after some time.
Replacing a faulty capacitor is easy. Since the old one was desoldered from the board, simply solder a purchased replacement in its place. For those with basic soldering skills, this task won't be difficult.
 If your washing machine's motor refuses to start or starts with difficulty, the capacitor may be the problem. However, since this component is located on the control board, inspecting it and, if necessary, replacing it will require disassembling the entire washing machine panel. Let's look at how to diagnose and replace the capacitor in your washing machine.
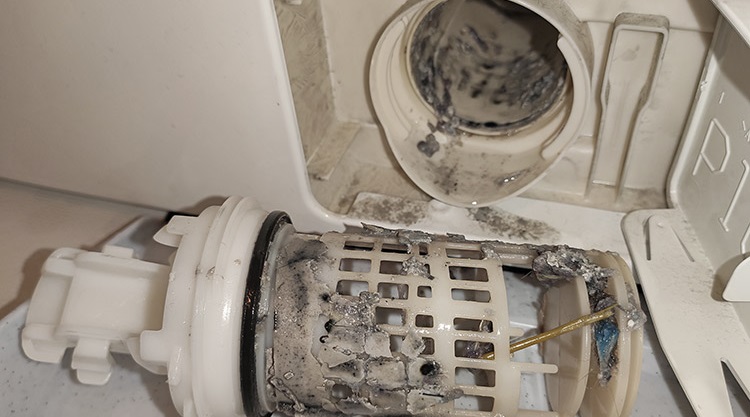


Add a comment