How to replace the spider on a Samsung washing machine drum
 The spider is a soft metal component that attaches the washing machine's drum to the shaft. It experiences constant stress, which over time leads to deformation and failure. This component cannot be repaired and must be replaced.
Let's figure out how to replace the spider on a Samsung washing machine. We'll explain how to access the part and what tools you'll need for the removal process.
Dismantling the external elements of the case
To replace the tub crosspiece, you will have to completely disassemble the washing machine. First of all, the external elements of the body are dismantled: the upper and front panels, the powder receptacle, and the instrument panel. During these works it is enough to have a Phillips and slotted screwdriver on hand.
Before you begin disassembling the case, be sure to disconnect the power from the Samsung washing machine.
Replacing the spider is quite complex and labor-intensive. However, if you follow the instructions, you can repair the washing machine yourself. The first step is as follows:
- unplug the machine;
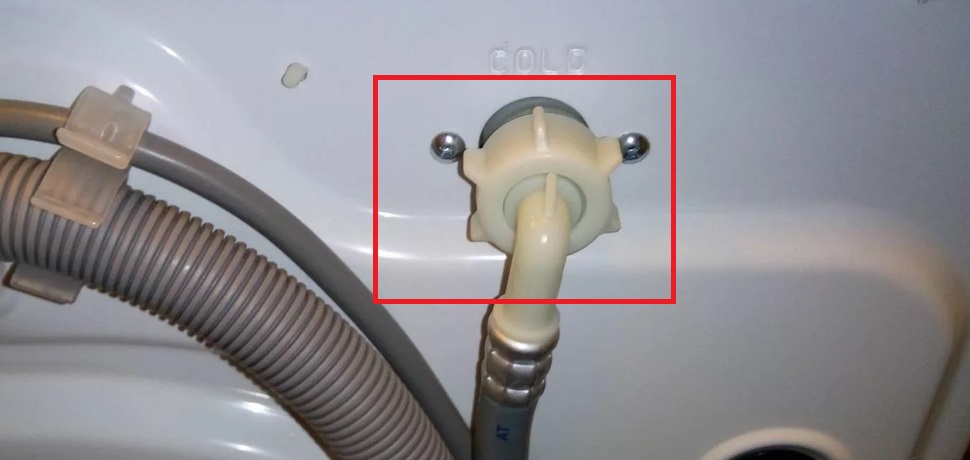
- turn off the tap that supplies water to the washing machine;
- disconnect the drain and inlet hoses from the machine;
- Move the washing machine to the center of the room to make it easy to work with;
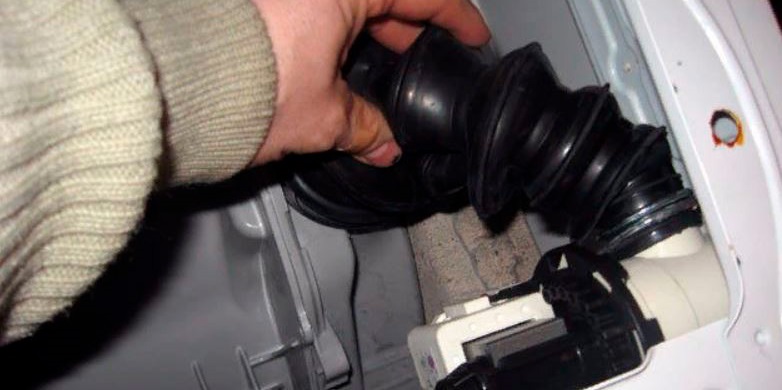
- open the hatch door, use a slotted screwdriver to remove the clamp securing the drum cuff;
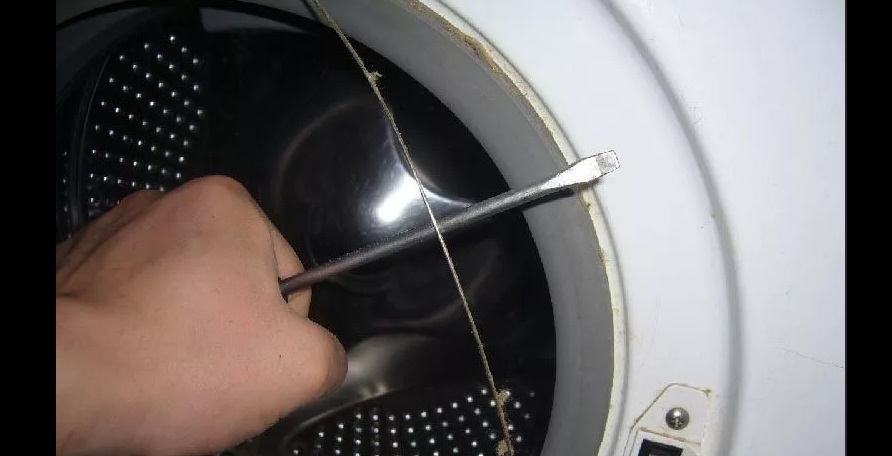
- tuck the sealing rubber inside the drum;
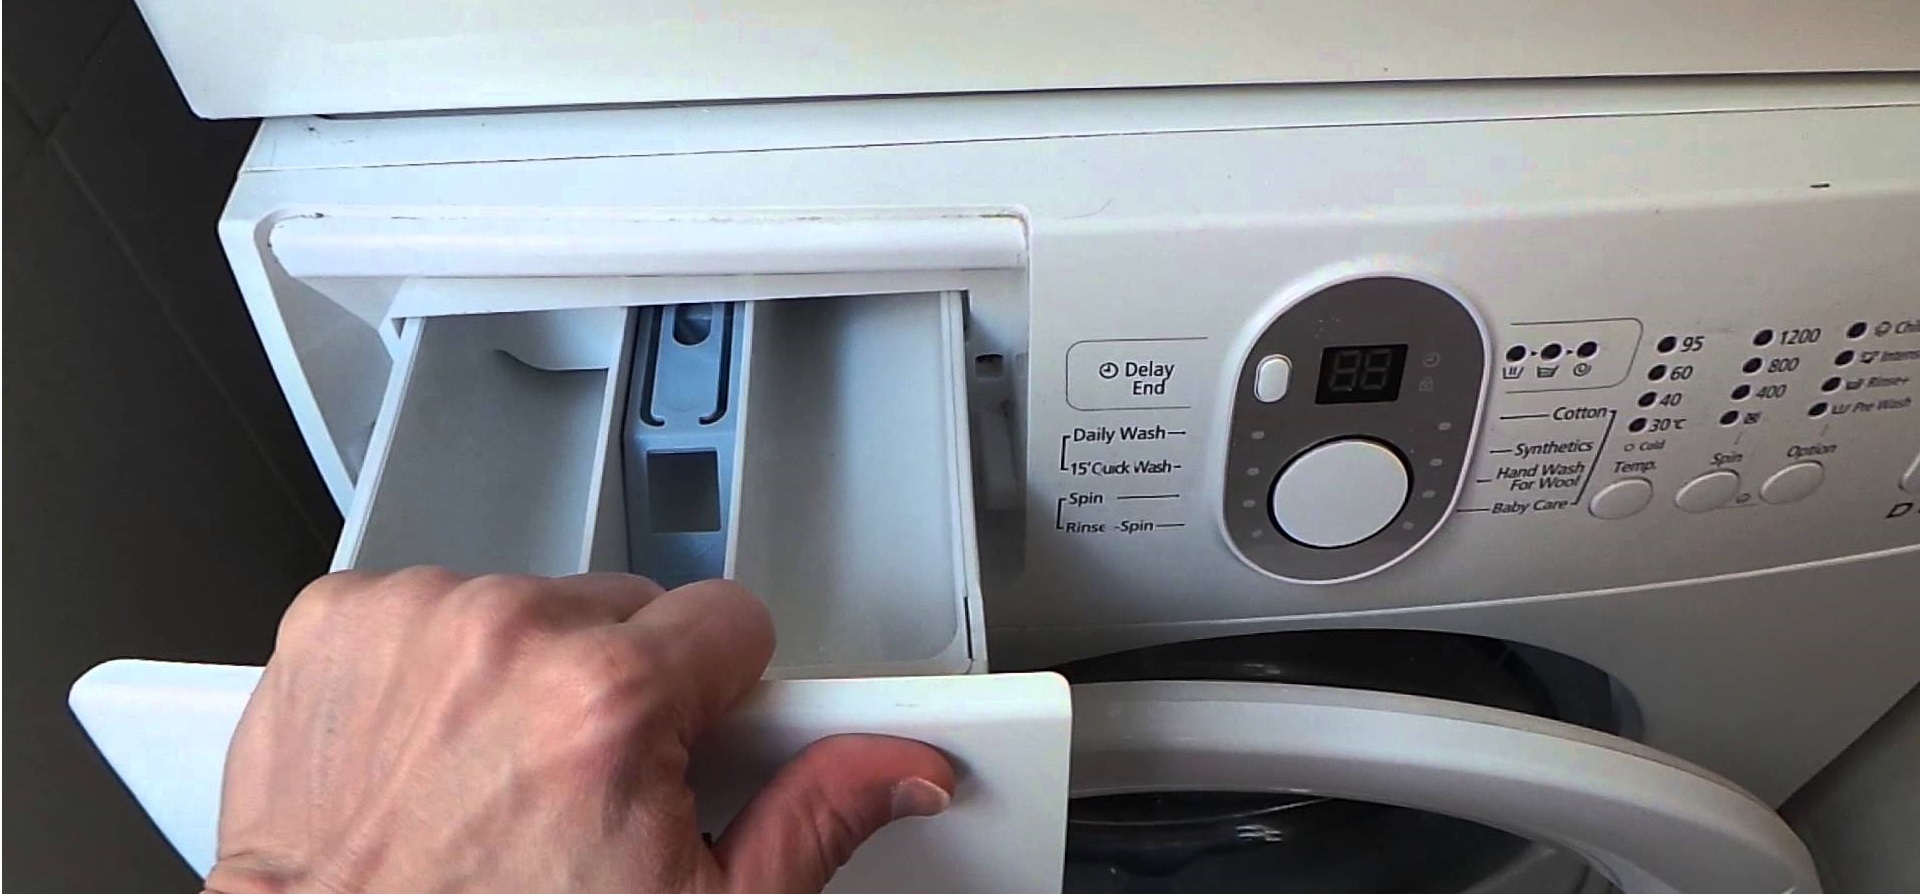
- remove the powder container from the machine;
- remove the lower false panel of the washing machine, having dealt with the fasteners;
- unscrew the waste filter (be careful, water may leak out of the machine when removing the plug);
- remove the bolts holding the washing machine housing cover;
- remove the top panel;
- Unscrew the screws located around the perimeter of the control panel;
- Take a photo of the connection diagram of the instrument cluster contacts to the electronic module;

- disconnect the wiring and move the control panel aside;
- Unscrew the bolts holding the front wall of the washing machine (they are located around the entire perimeter of the panel);
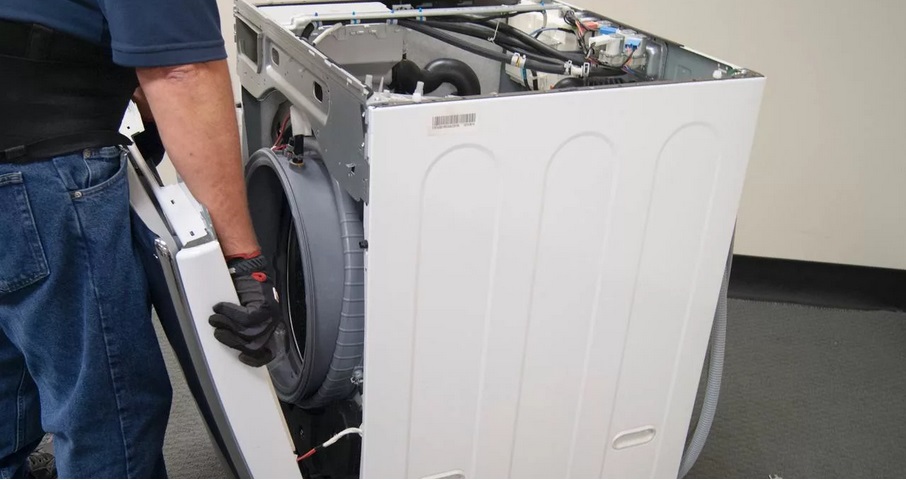
- remove the front wall of the housing, having first disconnected the contacts from the hatch locking device;
- remove the iron panel from the top of the washing machine (it is located where the dashboard is attached);
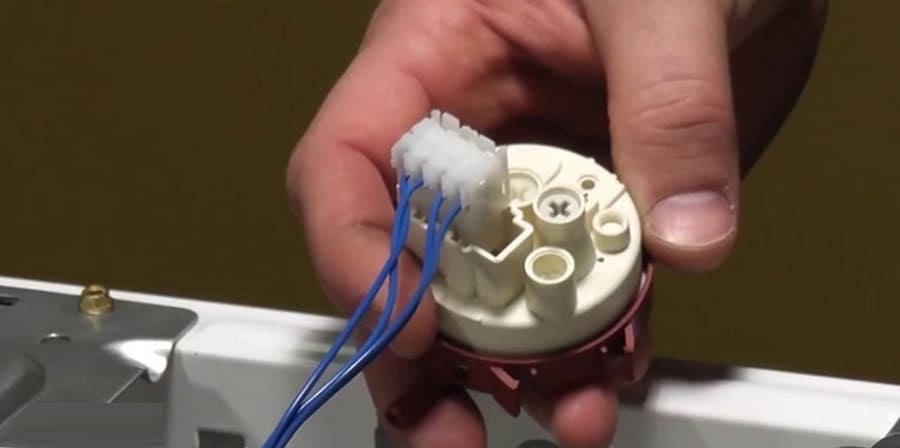
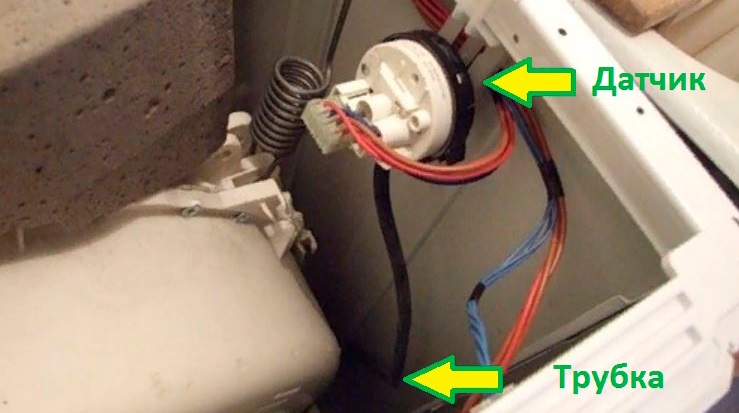
- unscrew the bolt holding the water level sensor, remove the pressure switch from the washing machine housing;
- Unscrew the screws securing the inlet valve and remove the plugs from it;
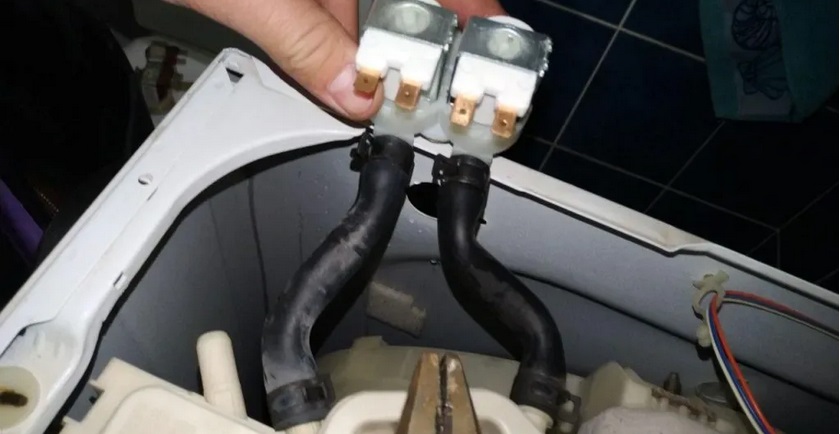
- Remove the dispenser hopper along with the inlet valve and pipes.
When disconnecting the contacts from the internal parts of the washing machine, take a photo of the wiring diagram to avoid making mistakes during further assembly.
This is the order in which the external components of a Samsung washing machine are removed. If this is your first time repairing a washing machine, it's best to read the instructions before beginning. This will help you understand the machine's structure and get an idea of the locations of each component.
We remove the parts that interfere with the removal of the tank and drum
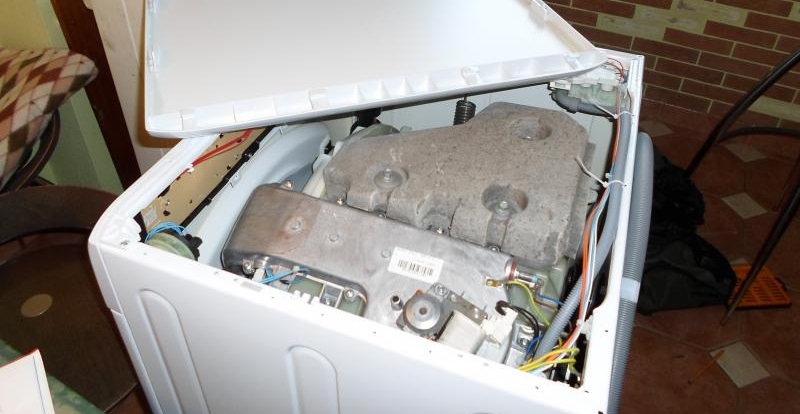
To replace the spider, you need to remove the drum-tank assembly from the washing machine. Once you've disassembled the machine, you'll see the tank and all the components connected to it. You'll need to remove any parts that might interfere with the tank's removal, one by one.
The first thing you'll notice is the upper counterweights. These are concrete blocks that provide stability to the Samsung washing machine. You need to remove the weights by unscrewing the bolts that secure them.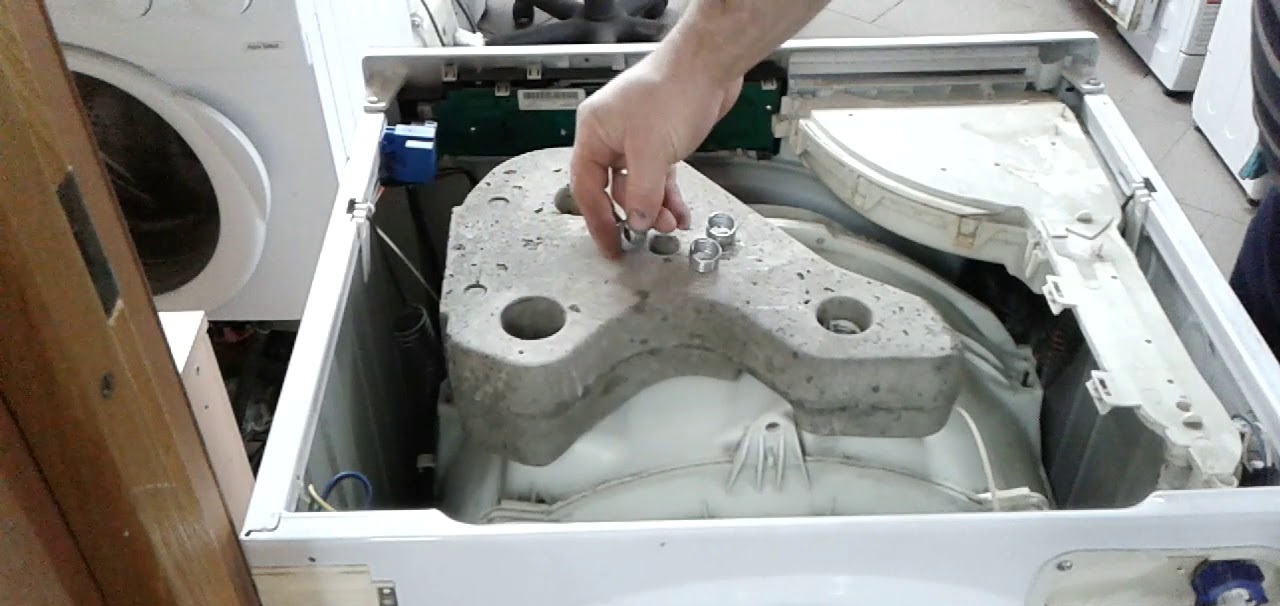
There's another counterweight located underneath. It also needs to be removed. The bolts securing the unit are removed using a socket wrench of the appropriate size. Next, remove the remaining internal components that interfere with the tank's removal.
The further algorithm of actions will be as follows:
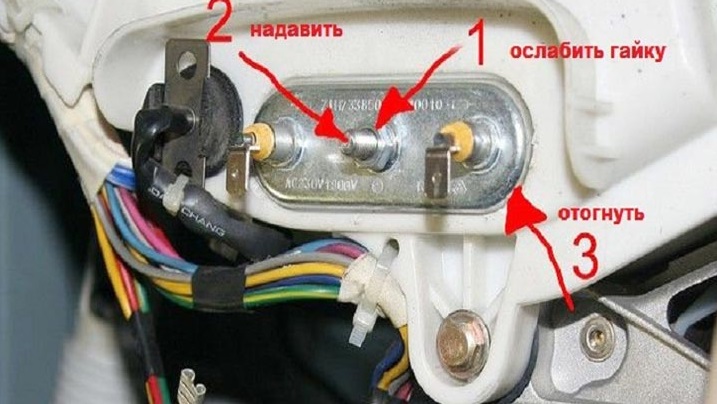
- disconnect the heating element contacts from the tank (power red and blue wires, ground and temperature sensor connector);
- unhook all the wire twists connected to the tank;
- detach the pressure switch hose;
- disconnect the electric motor connector and the block itself that goes to the motor;

- unhook the drain pipe from the tank;
- Remove the bolts securing the lower shock absorbers.
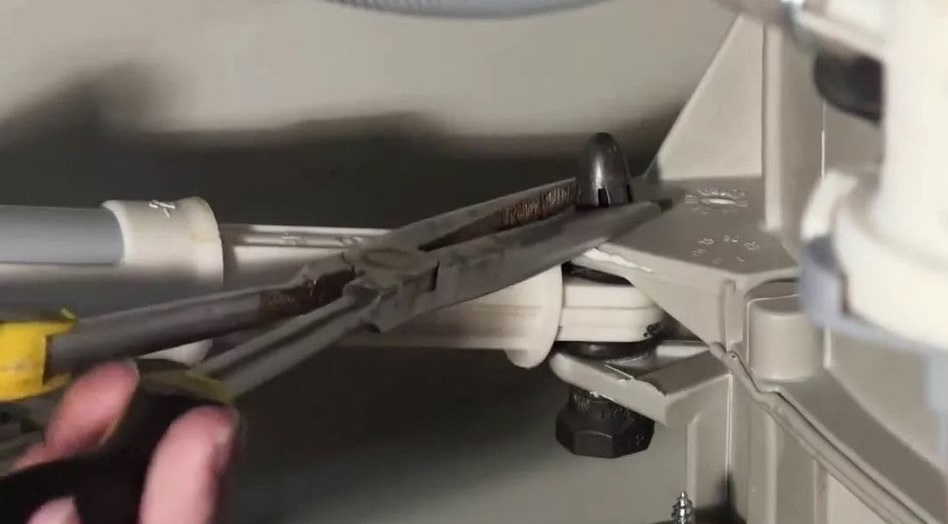
To work on the lower shock absorbers, you'll need a 13mm socket. Remove the retaining bolts on each side. The reservoir is held in place by four springs, which will also need to be unhooked. After this, you can begin removing the reservoir-drum assembly.
After removing the tank, place it on a hard, level surface with the pulley facing up. Next, remove the drive belt and disconnect the engine. Next, unhook the shock absorbers from the tank.
The pulley does not need to be removed at this stage. Washing machine tanks Samsung collapsible. This makes the job much easier – to cut a plastic container in half, you only need to use a few clamps.
We disassemble the tank and get to the crosspiece.
The next step is disassembling the unit. Samsung washing machine tubs are very easy to split in half. The tank isn't a single piece, unlike some models from other brands. The parts are separate and connected with special fasteners.
Place the tank-drum assembly upright and, using a screwdriver, remove the clamps one by one. There are usually 5-7 fasteners. Once the clamps are removed, the tank can be separated.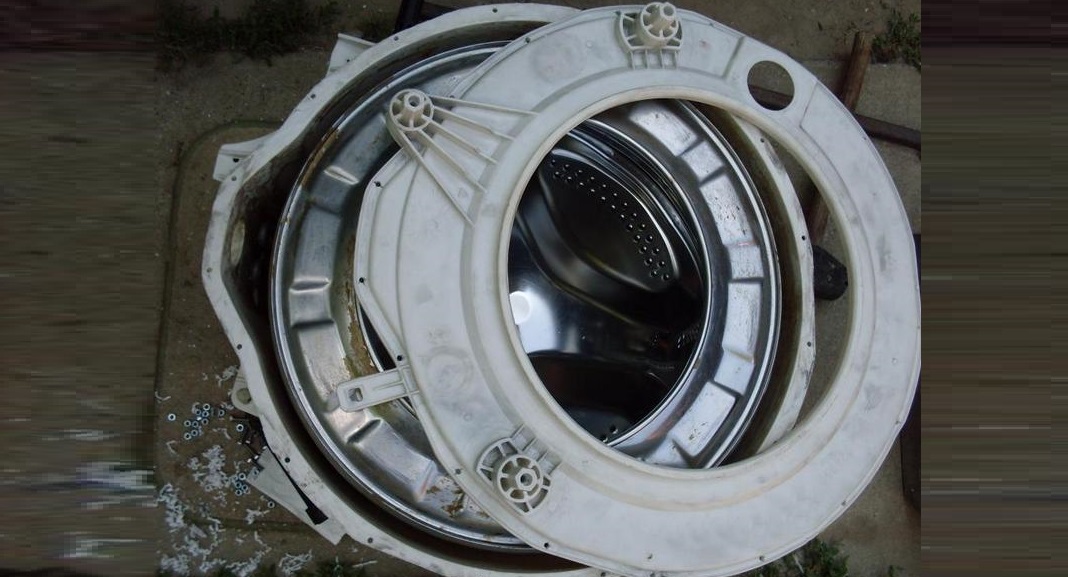
The top half of the tank can be removed immediately. The rest of the work is done with the lower half. You'll need to remove the drum, which has the crosspiece at the back.
Sometimes the spider is so badly damaged that the drum can be easily pulled out of the tank, leaving the shaft itself in a plastic container. In any case, the entire structure will have to be disassembled. The procedure is as follows:
- unscrew the nut securing the drum pulley;
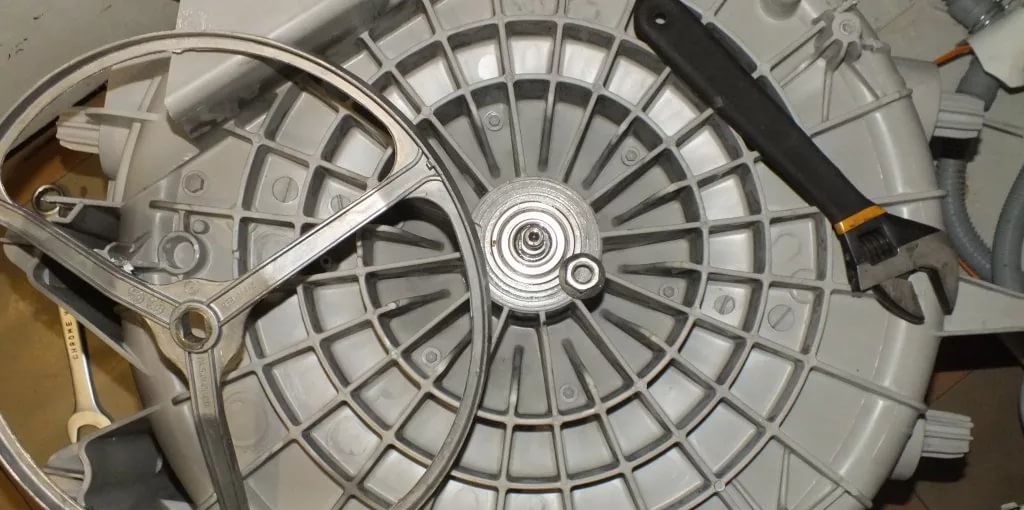
- remove the drum "wheel";
- push the bolt inward.
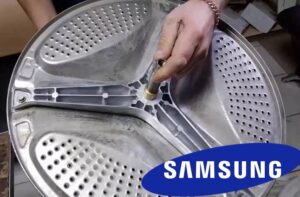
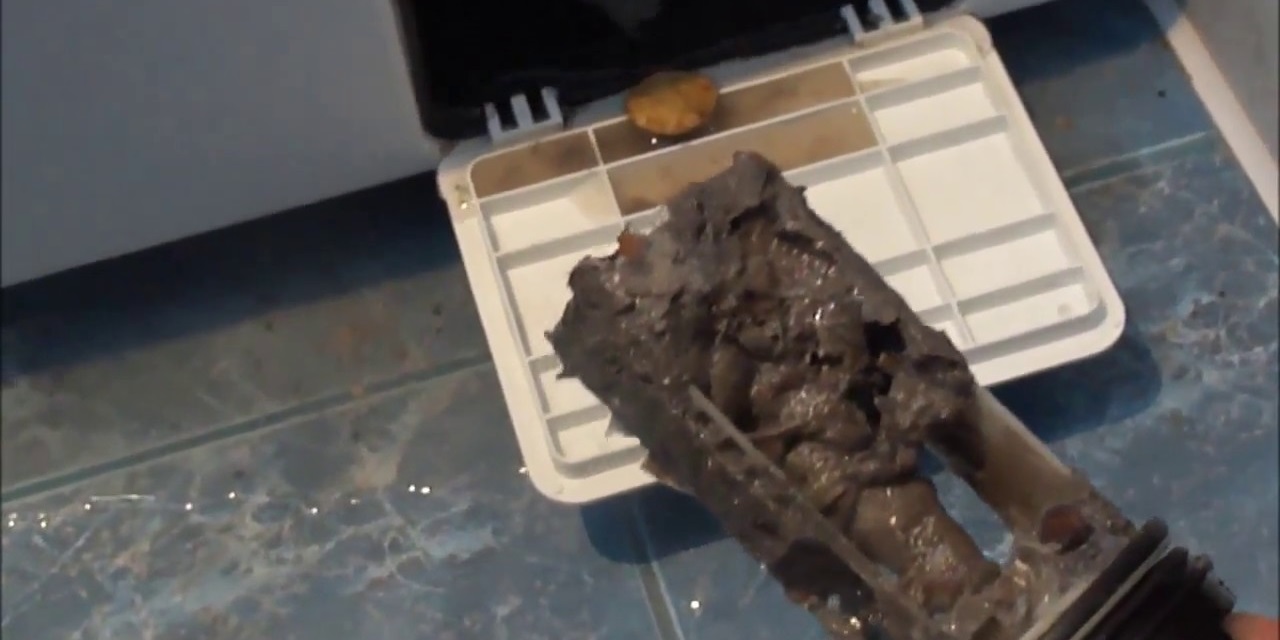
After this, you can remove the damaged spider. To do this, unscrew the three bolts holding it in place. If there is wear, pre-treat the fasteners with WD-40. The replacement part is selected for the specific Samsung washing machine model. Before installing the replacement part, be sure to clean the inside of the tub and the back of the drum of any deposits, dust, and dirt.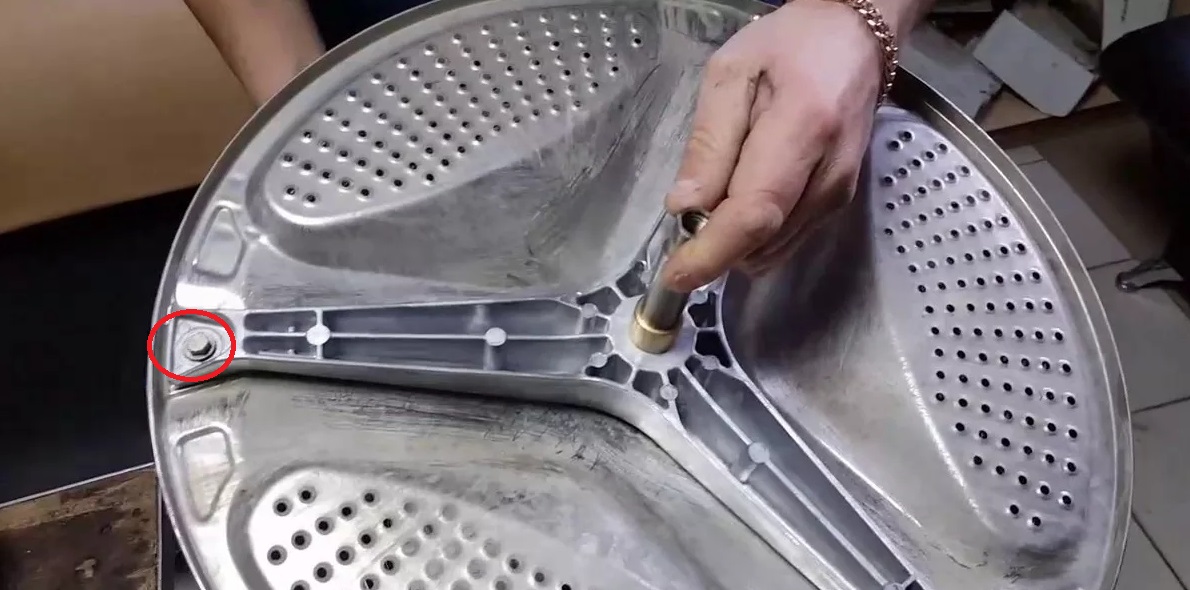
It's also a good idea to immediately check the condition of the bearing assembly. If the metal rings and seal are worn, it's recommended to replace them at the same time as the universal joint.
The new part is secured in place with three bolts. Next, the drum and spider are placed back into the tank. The pulley is secured to the shaft.
The next step is assembling the plastic tank. The top half of the tank is placed on the bottom half and the parts are clamped together. The bottom clamp is installed first, then the top clamp, and then the rest. Then the shock absorbers are seated and secured with bushings.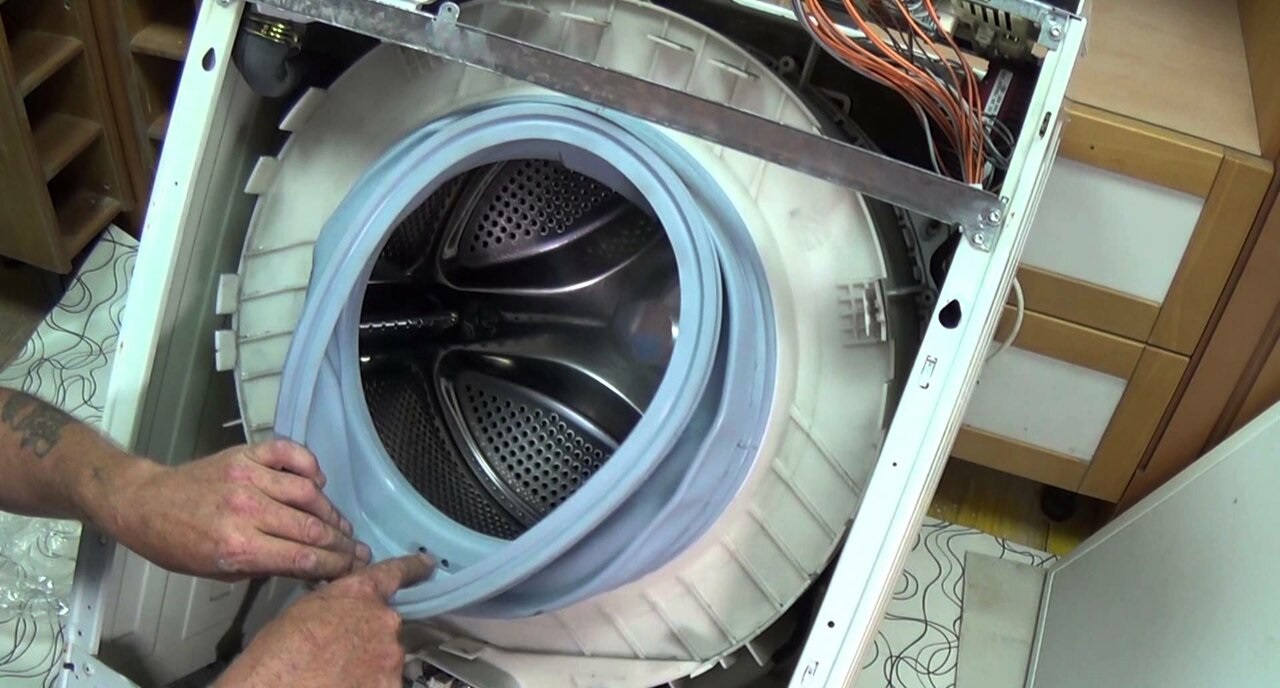
Next, the machine is reassembled in reverse order. The motor is attached to the tank, then the unit is installed in the housing, and the reservoir is suspended from above by springs. The lower shock absorbers are secured with bolts. Then all previously removed wires, pipes, and components are connected to the tank.
When assembling the machine, twist the wires as much as possible so that they do not hang down and fray.
Next, assemble the washing machine body. First, secure the front panel, then the control panel, and finally the top cover. Once finished, connect the machine to the power supply and run a test cycle. Make sure the drum rotates without making any unusual noise. Also, check for any leaks. If everything is in order, the repair is complete.
Spider failure doesn't happen suddenly. Users typically hear humming and other noises during machine operation. Part failure can be caused by:
- too hard tap water, which provokes the formation of scale;
- low-quality detergents used for washing;
- worn bearings (when the rings wear out, the crosspiece begins to deform).
Therefore, it's important to monitor the hardness of your tap water and, if necessary, use softeners. You should also buy only high-quality household cleaning products for your washing machine and avoid overloading it. This will help avoid such time-consuming repairs.
Interesting:


Readers' comments
Headings
Washing machine repair


For buyers


For users


Dishwasher


Add a comment