How to replace the spider on an Indesit washing machine
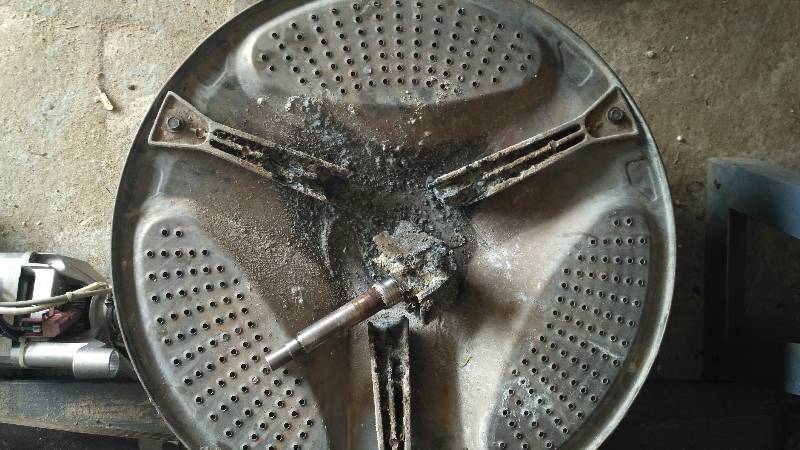
If your washing machine is having trouble spinning clothes, it could be due to a deformed spider. This part attaches the drum to the spindle. This assembly is constantly subjected to high stress, causing it to become damaged over the years.
You can replace the spider on an Indesit washing machine yourself, even at home. It's a labor-intensive job, requiring time and patience. A professional repair will cost you a minimum of $80–$120. So, we'll show you how to replace the part yourself.
Start of disassembling the machine
Before you start working, realistically assess your own strengths. To replace the universal joint, you will have to completely disassemble the Indesit washing machine. The tank must be removed from the device, which means dismantling all the elements connected to it.
The job ahead is complex. The first step is preparing the washing machine. Drain any remaining water, disconnect the appliance from the power supply, and ensure access from all sides. At this stage, the only tools you'll need are a couple of screwdrivers; a drill might be helpful.
Before starting work, de-energize the machine by pulling the power cord out of the socket.
Now you can begin preparing the washing machine. You will need:
close the shut-off valve responsible for supplying water to the machine;
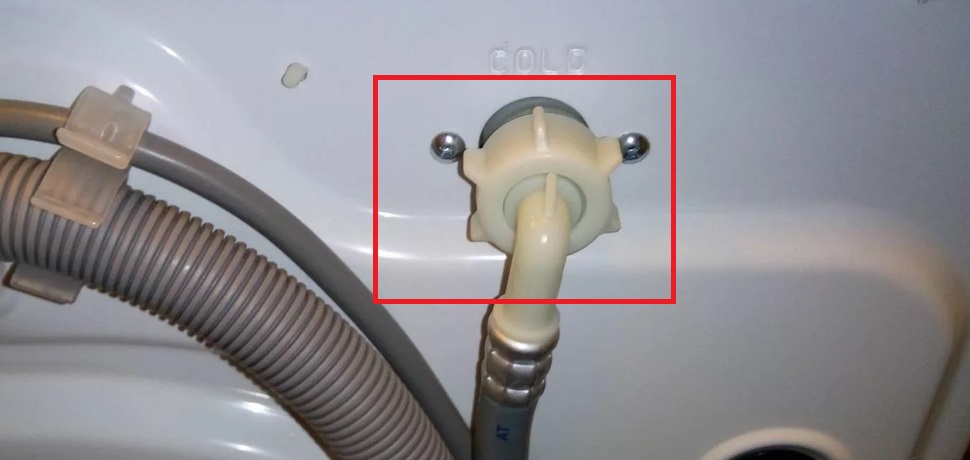
detach the inlet hose from the washing machine body (it is fixed at the back, in the area where the inlet valve is located);
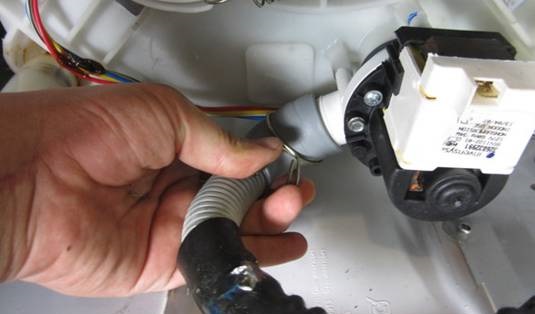
disconnect the drain hose, it is connected from below to the pump;
remove the lower decorative panel;
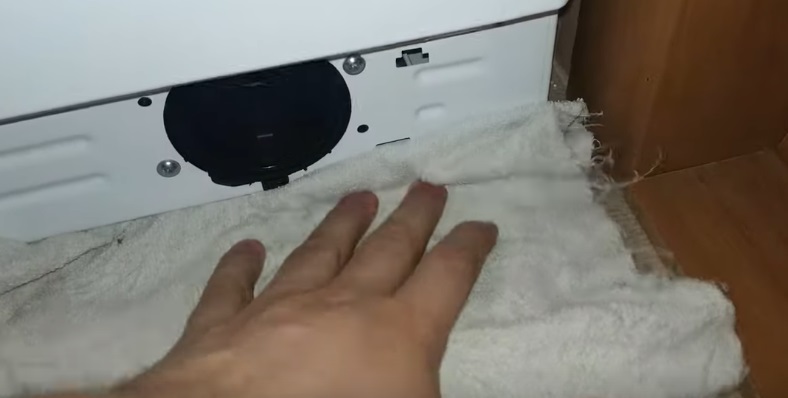
cover the floor around the washing machine with dry rags;
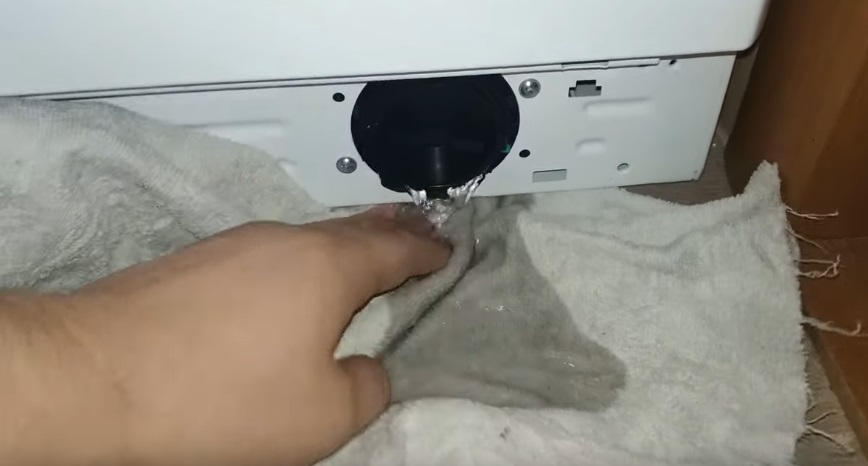
place a low container under the washing machine (specifically under the waste filter);
unscrew the drain filter plug halfway and wait until the water from the system drains into a basin;
take out the trash can completely;
Move the washing machine away from the wall to ensure access to the body from all sides.
After this, you can begin disassembling the washing machine housing. Here's how:
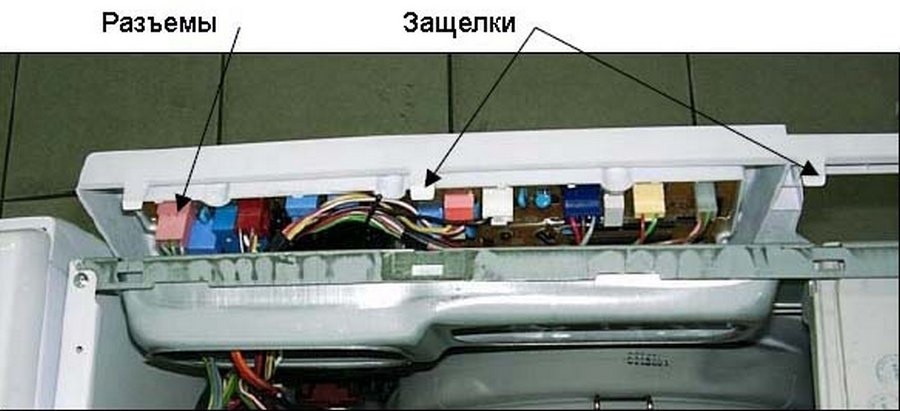
remove the bolts securing the top panel of the washing machine;
remove the housing cover;
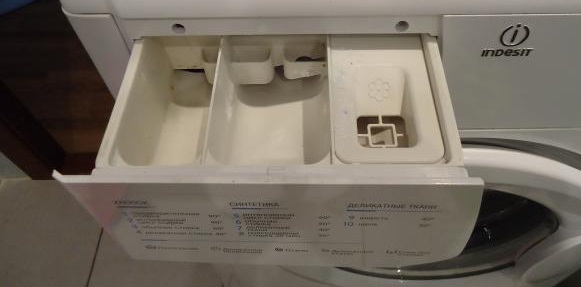
remove the powder container from the machine;
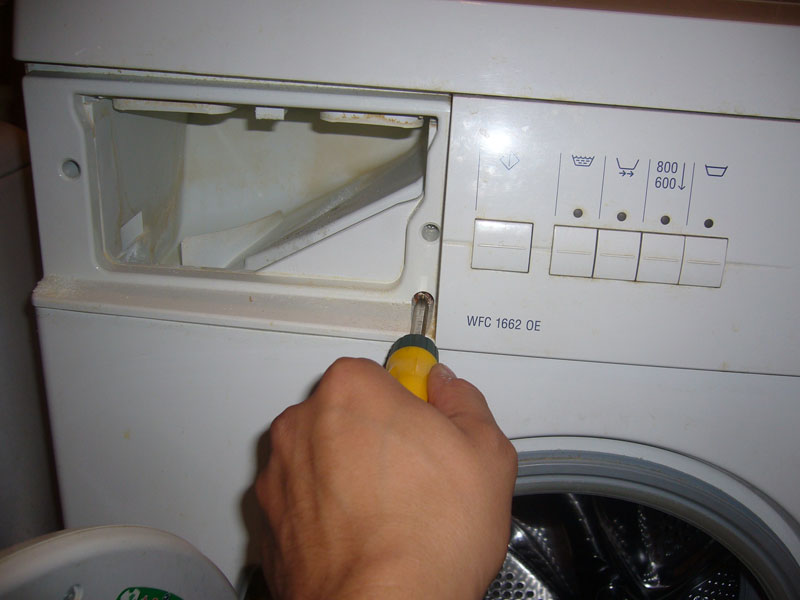
unscrew the screws holding the control panel;
take a photo of the connection diagram of the contacts from the instrument panel to the electronic module;
remove the wires from the control panel;
unhook the instrument panel and set it aside;
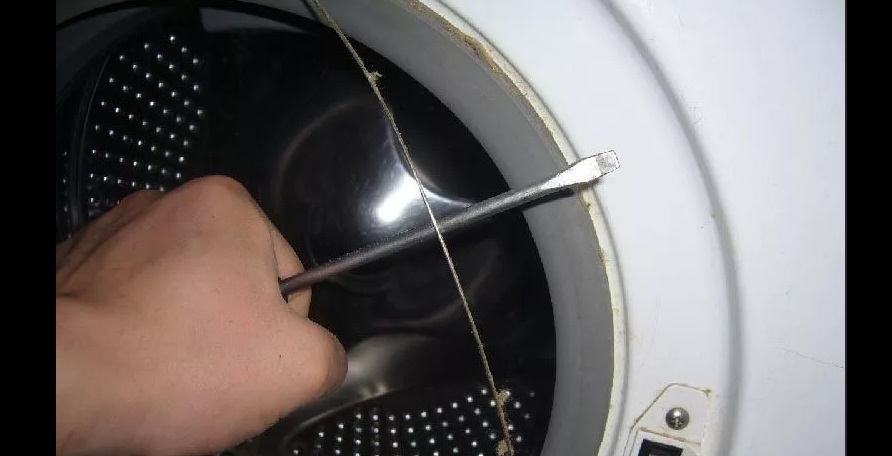
open the washing machine hatch door;
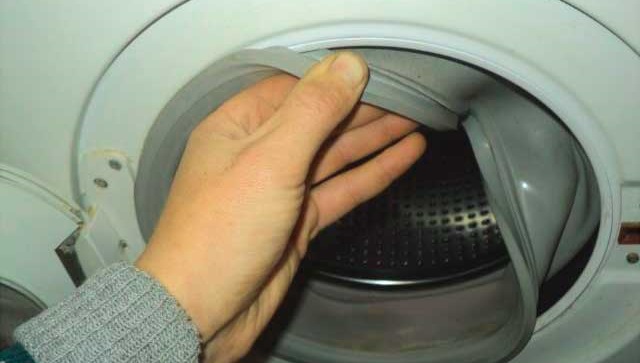
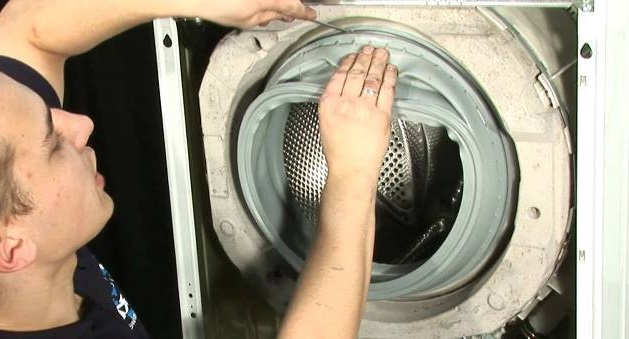
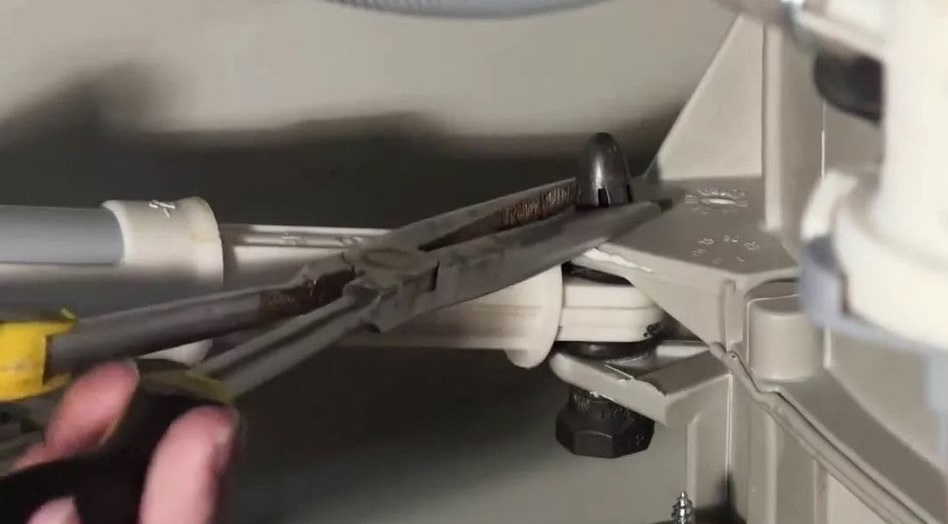
remove the outer clamp of the drum cuff (to do this you need to hook the rim mount);
insert the sealing rubber into the drum;
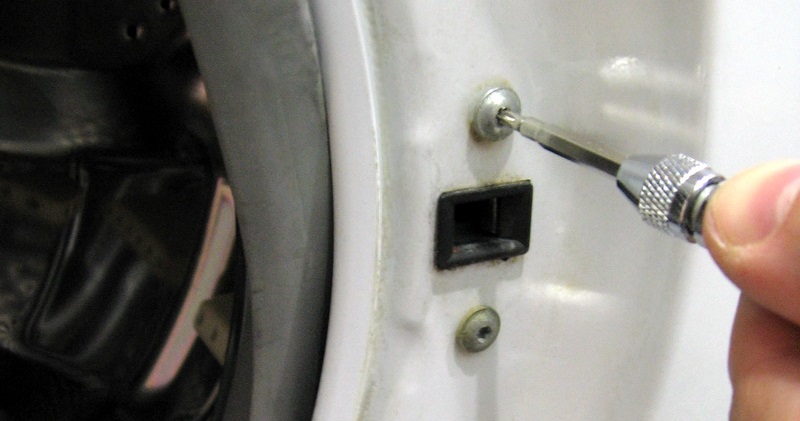
remove the screws around the perimeter of the front panel of the washing machine;
reset the wiring of the hatch locking device (after taking a photo of the connection diagram);
remove and set aside the front wall of the case;
remove the metal bar located on top of the machine;
remove the pressure switch from the washing machine by removing the bolt that secures it;
remove the screws securing the fill valve and disconnect its wires;
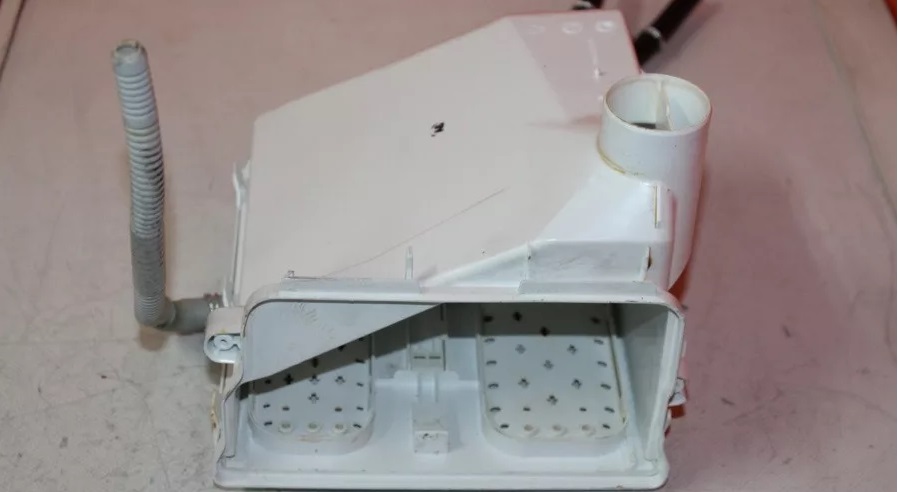
Remove the detergent drawer and filling valve from the washing machine.
It's important to remember to take photos of the initial connections of the contacts to the components. This will help you avoid mistakes during reassembly. Connecting a wire incorrectly can damage the washing machine's electronics.
This is the order in which you disassemble the body of an Indesit automatic washing machine. If you're repairing a washing machine for the first time, it's best to read the manual before beginning work. This will help you understand the locations of each component.
It's time to take out the tank
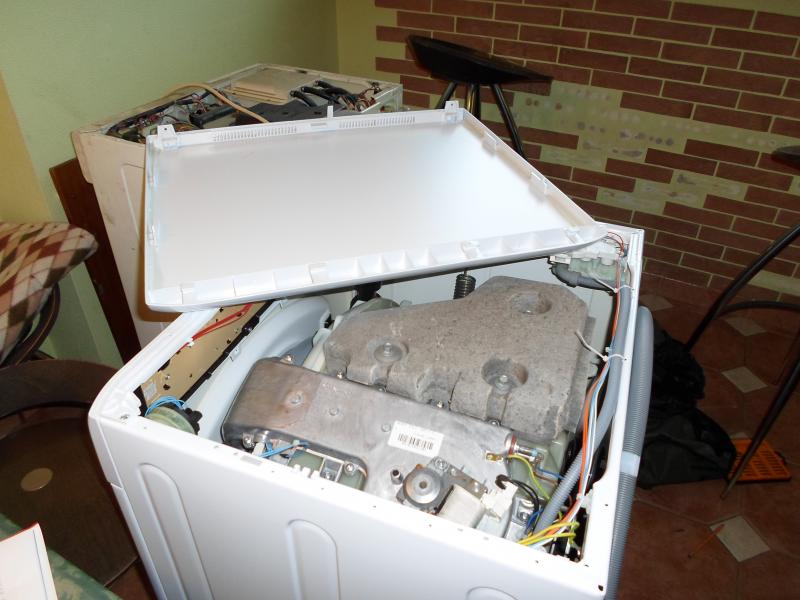
The next step is removing the tank. To access the container, all components must be removed. The counterweights, engine, pipes, heating element and thermostat contacts, and shock absorbers are removed one by one. To do the job you will need a pair of screwdrivers and a ratchet with a set of heads.
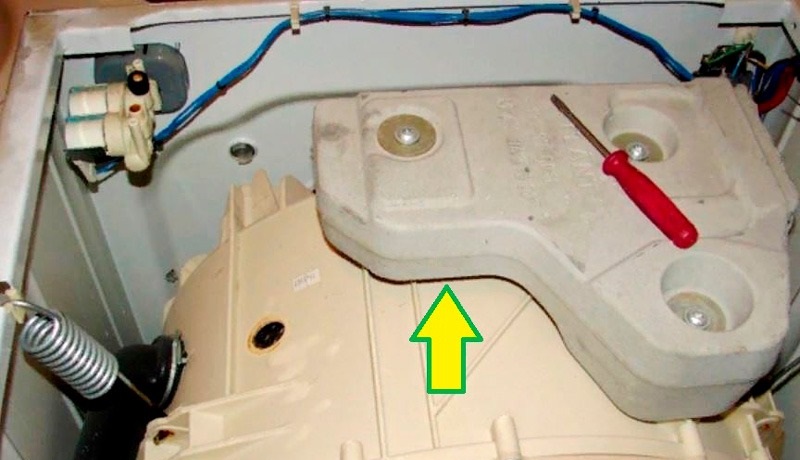
The first thing you'll notice is the top counterweight. This is a large concrete block that provides stability to the automatic washing machine. You'll need to unscrew the bolts holding it in place and remove the counterweight. Keep in mind that this element is quite heavy, so be sure to handle it with care.
Next, the lower counterweight is removed. To do this, remove the bolts holding it in place. The fasteners are loosened using a socket wrench of the appropriate size.
Further algorithm:
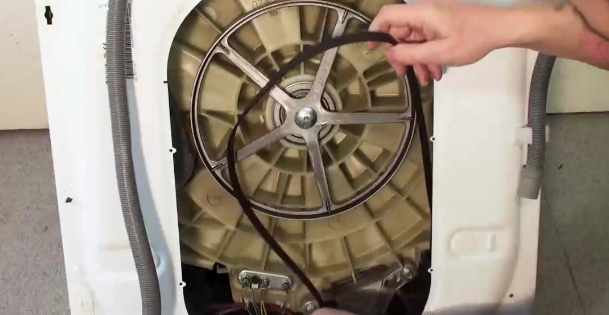
remove the drive belt from the pulley;
remove the inner clamp from the machine that secures the drum cuff;
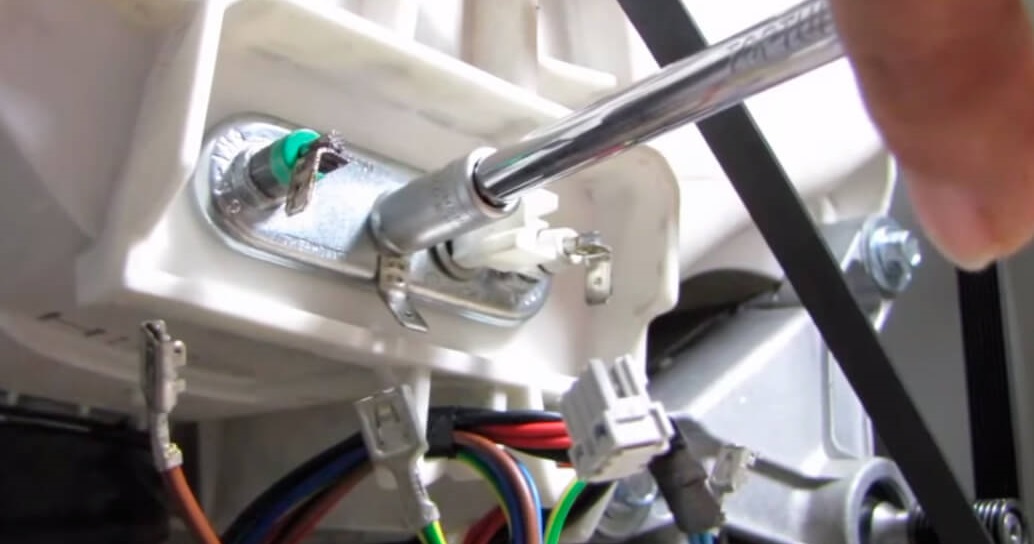
Disconnect the heating element and temperature sensor wiring from the tank;
unscrew the heating element nut, push the central bolt inward, pull out the heater;
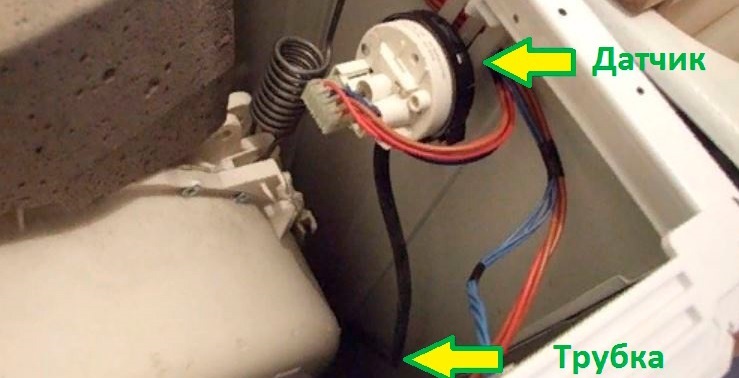
unhook the water level sensor connector from the tank;
reset the electric motor contacts and disconnect the connector that goes to the motor;
Unhook the remaining wires and pipes from the plastic container.
Next, we'll work on the shock absorbers. A 13mm socket will be required to remove the lower vibration dampers. The bolts are removed from all sides. The main reservoir is held in place by four springs at the top—these also need to be unhooked.
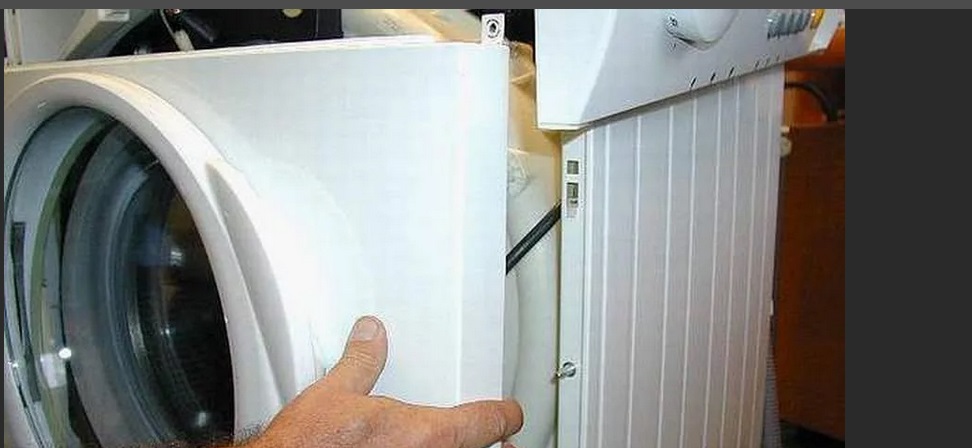
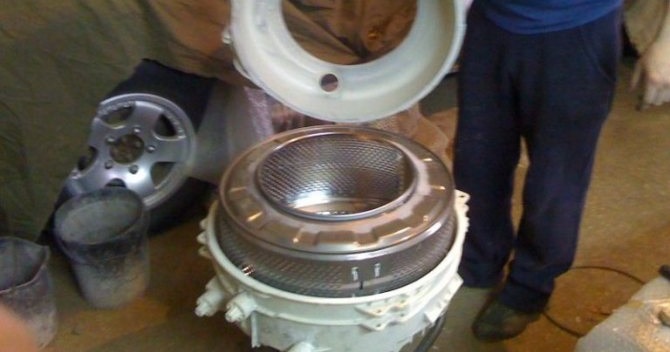
Now nothing gets in the way of removing the tank. Removing the container alone is difficult; it's best to call a helper. The plastic tank is pulled out and placed on the floor, with the drum pulley facing upward.
The motor and shock absorbers are still attached to the tank. Therefore, you need to unscrew the fasteners and detach the motor and shock absorbers from the plastic housing. The next step will be working on the tank itself.
To replace the universal joint, the fuel tank also needs to be disassembled. Only then can the damaged part be removed and the new one installed. This is the next stage of the repair.
Cutting the tank and dismantling the crosspiece
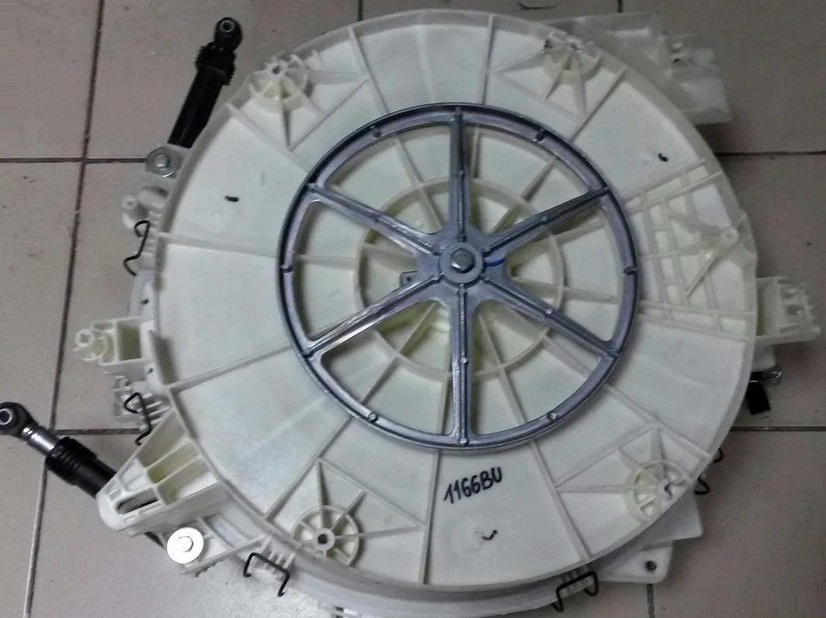
Next comes the most difficult part of the repair. Indesit washing machines are equipped with non-detachable tanks. It is not possible to simply split the container in half by unscrewing the bolts around the perimeter.
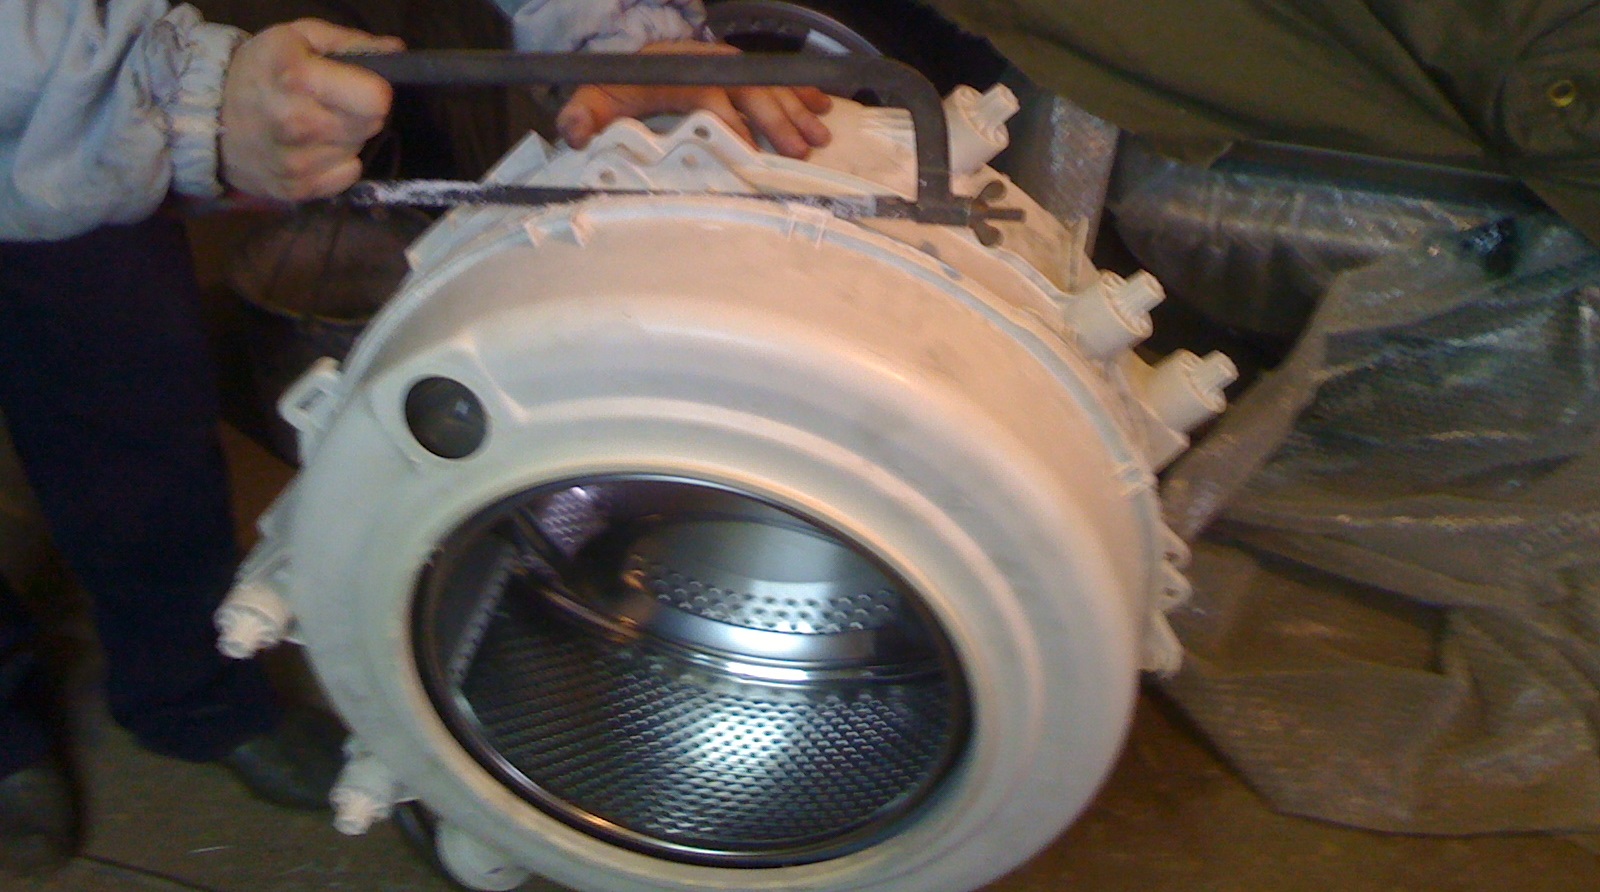
The non-detachable drums of washing machines are sawn manually along the factory seam – otherwise, there is no way to access the “hidden” parts inside.
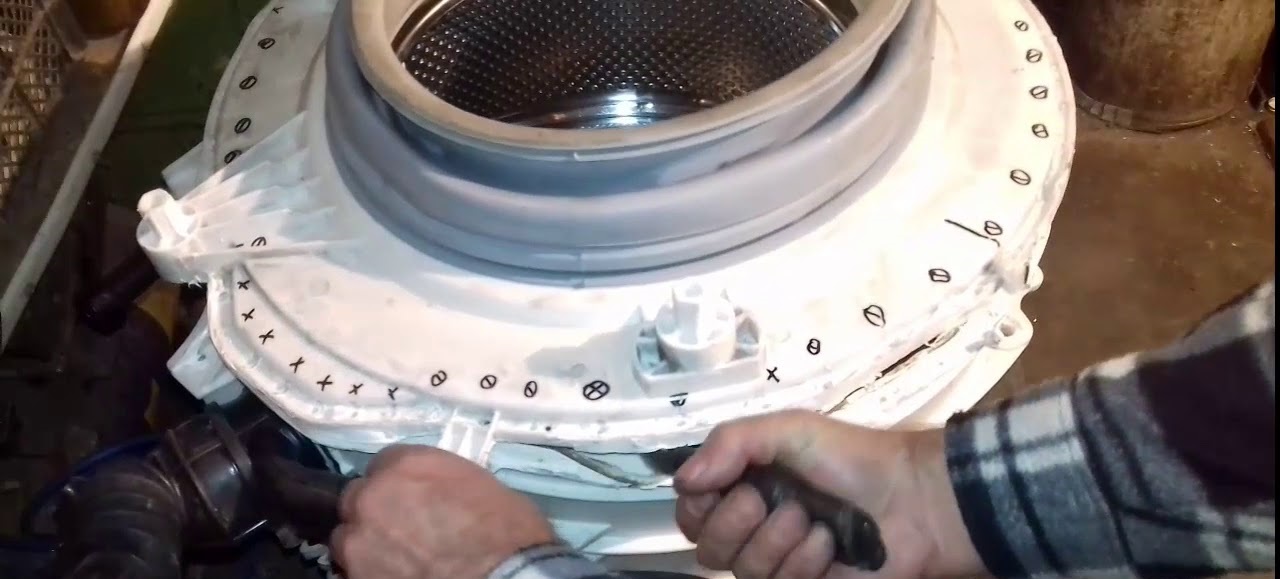
For further work, you'll need an angle grinder or hacksaw. A drill and a marker will also be helpful. Mark 6-7 dots along the center edge of the tank and drill them. These holes will be used to screw in the bolts during reassembly.
Cut the tank straight along the factory seam. Set the empty half aside; we'll be working on the part containing the drum. The goal is to remove the metal tank.
Sometimes the spider is so damaged that the drum simply falls out of the tank half. If the parts are securely fastened together, the procedure is as follows:
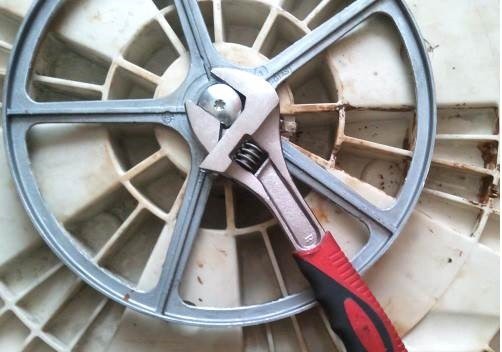
unscrew the bolt securing the drum pulley;
detach the "drum wheel" and set it aside;
press the bolt in;
Unscrew the three bolts securing the drum crosspiece (if the fasteners are worn, first spray them with WD-40 universal cleaner);
remove the damaged crosspiece.
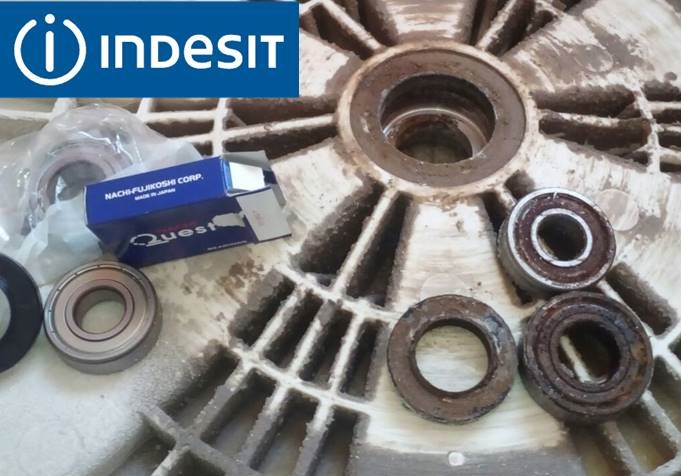
New components are selected for a specific Indesit washing machine model. The mounting surface must be cleaned of dirt, rust, and wear marks. Only then can the purchased universal joint be installed. It is also secured with three bolts.
Experts recommend checking the drum bearings immediately. If the spider is damaged, the rings are likely worn out as well. To avoid the need for a complicated disassembly of the washing machine in the near future, it's best to install new parts.
So, the bearings have been replaced, and the new universal joint is in place. Now it's time to reassemble the machine. First, all attention should be paid to the tank. You need to:
place the drum in the corresponding half of the tank;
secure the pulley in place;
clean the edges of the container halves with sandpaper;
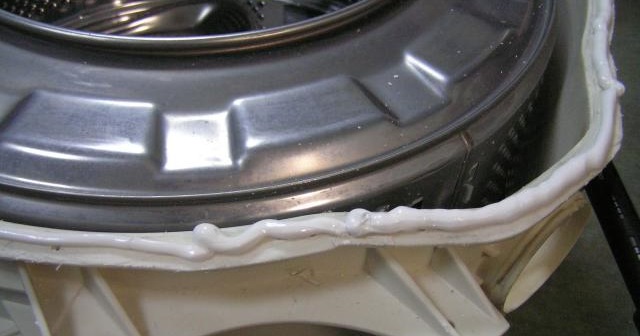
lubricate the tank parts along the seam with silicone sealant (it must be waterproof and resistant to temperature changes);
place one half of the tank on the other, matching the holes on the edge;
wait until the sealant “sets”;
Twist the halves of the container together, inserting bolts and nuts into the holes made earlier.
The tank must remain airtight—this is crucial. Then the plastic container is returned to the washing machine body, suspended by springs, and secured with shock-absorbing struts. Now, all the previously removed components are reconnected one by one: the motor, heating element, thermostat, pressure switch, detergent drawer with inlet valve, control panel, and various wires and pipes.
When assembling the washing machine, refer to the photo prompts taken earlier.
Once the machine is assembled, connect it to the power supply. Next, be sure to run a test cycle without any items loaded. Select the shortest program, preferably "Rinse and Spin." Observe how the washing machine spins the drum to check for any leaks.
A crosspiece doesn't break in a couple of days. It's a long process. Damage can be caused by:
hard water;
overloading the machine (when users do not adhere to the recommended loading weight);
permissible drum imbalance;
malfunction of the bearing unit, etc.
Any breakdown is easier to prevent, especially if it concerns the spider or drum bearings. Therefore, it's important to handle the washing machine with care, adhere to the recommended load weight, avoid imbalances, use water softeners, and periodically descale the machine with special products.
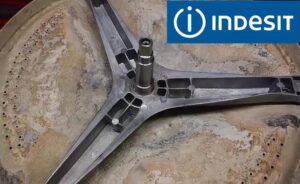 If your washing machine is having trouble spinning clothes, it could be due to a deformed spider. This part attaches the drum to the spindle. This assembly is constantly subjected to high stress, causing it to become damaged over the years.
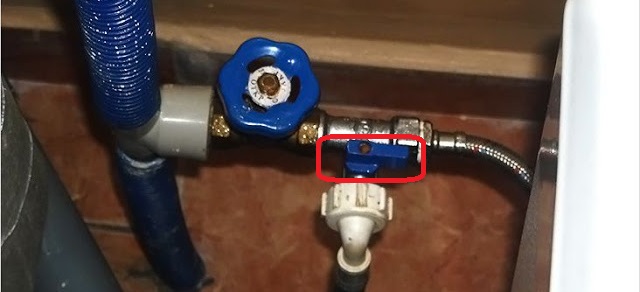


Add a comment