How to replace the cuff on a Beko washing machine?
If handled carelessly, the door seal can become damaged. This problem should not be ignored. A deformed seal can lead to leaks, so immediate action is required. Let's look at how to replace the door seal on a Beko washing machine, what tools you'll need, and where to begin the repair.
It is important to choose the right cuff
First, you should purchase a replacement rubber sunroof seal. A safe bet is to remove the old seal and take it to the store. The salesperson will be able to find a replacement part similar to the one you removed. An even simpler option is to find the part number (license plate) on the seal and tell it to the sales associate.
The Beko model serial number can also serve as a reference. The identification on Beko washing machines is located on a label located above the door. It's a good idea to photograph the entire label so you can provide the year of manufacture, model, and serial number at the store.
In addition to the new rubber band, you'll need a couple more tools: a screwdriver and pliers. You'll also need soap and a soft sponge. This concludes the preparatory phase, and you can begin repairing the equipment.
We remove the defective part
It is not possible to simply remove the seal from the drum and put it back in place. The hatch door cuff is secured with an external and internal clamp, which must be loosened during dismantling. The algorithm of actions will be as follows:
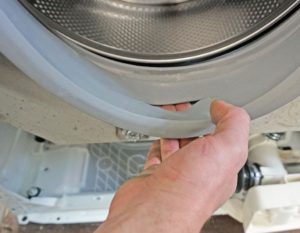
feel for the outer plastic clamp;
Use a screwdriver to pry up the ring's spring, pull it aside, and remove it. It's important not to stretch the clamp;
On Beko front cameras, the front panel is removable. For ease of operation, it is recommended to detach the lower false panel and remove it from Remove the powder compartment housing and the screws securing the front of the machine. Next, carefully remove the wall (the locking cable will be connected to it) and place it next to the machine.
Use a screwdriver to pry up the inner clamp in the same way you pryed up the first one;
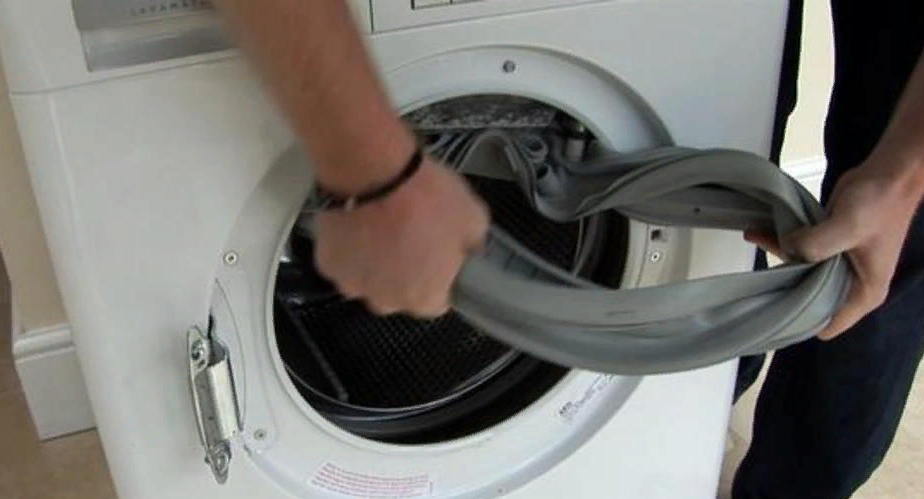
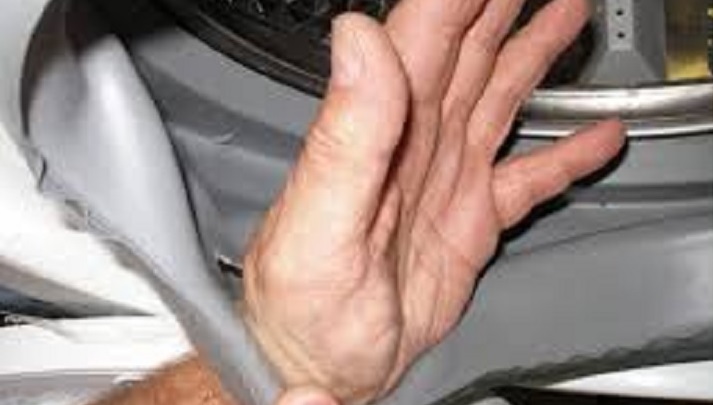
Pull the elastic towards you, gradually pulling it out of the grooves.
After this, you can carefully inspect the cuff, looking for defects and cracks on the surface. Once you've identified the cause of the damage, you should try to prevent it from happening again and use the machine carefully in the future.
We stretch the cuff
Installing the rubber seal is a bit more difficult than removing it. It will require some effort to insert the elements into the grooves. Detailed instructions for installing a new seal:
Clean the seat using soap and a sponge. Don't try to completely wash off the foam; it will, in fact, make the rubber easier to install.
Find the mounting marks on the seal and align them with the markings on the housing;
The water drainage holes must be located strictly at the bottom.
Place the cuff into the recess and pull it around with your thumbs;
insert the clamp into the groove, holding it with one hand, and tuck it around the entire circumference;
install the front wall and secure it with screws;
install the previously removed false panel;
Straighten the cuff and insert the outer clamp into the groove with the spring facing down. Gently pull the ring around the perimeter. If the clamp is screw-type, you can loosen it first and then tighten it into the housing.
Next, check the rubber door seal for proper installation. The seal should fit tightly against the body and drum. Finally, run the washer on an empty cycle, such as "Rinse," and observe how it operates. If there are no leaks, the repair is successful.
What caused the part to fail?
Although replacing the seal on a Beko washing machine is not difficult and can be done easily yourself, it's still best to prevent damage to the rubber seal. If you don't identify the cause of the damage and reassess your steps, you'll have to replace the seal regularly. Therefore, it's recommended to inspect the removed element and determine what caused its deformation.
The cuff has its own wear life, and it is within the user's power to prevent its deterioration from accelerating.
The reason for premature failure of the rubber hatch seal may be:
Careless replacement. The cuff is very easy to puncture with a screwdriver during installation, so it should be tightened and the clamps installed with extreme caution;
Harsh household chemicals poured into the machine. Some gels, bleaches, and powders contain unsafe ingredients that can damage the seal;
Friction. If you overload the washing machine, the laundry will rub against the gasket with increased force, and sharp parts of the clothing can damage the gasket;
Damage from foreign objects. A bra underwire caught in the drum can easily puncture the elastic. Keys, coins, hairpins, and other items left in pockets can also cause damage. Heavy shoes rotating in the drum can also worsen the condition of the pad.
User carelessness. Rubber often suffers from careless insertion and removal of laundry from the machine;
fungal deposits, mold. If you do not wipe the cuff dry after washing, do not ventilate and do not dry the machine, harmful microorganisms will settle on the sealThis kind of plaque will eventually eat away at the structure of the rubber.
By following basic recommendations and handling your washing machine with care, you can postpone removing the seal for a long time. However, if you notice obvious signs of a leak, don't worry—removing the gasket and installing a new one isn't that difficult. The repair takes literally half an hour. The key when replacing it is to follow the instructions carefully and proceed with caution.
 If handled carelessly, the door seal can become damaged. This problem should not be ignored. A deformed seal can lead to leaks, so immediate action is required. Let's look at how to replace the door seal on a Beko washing machine, what tools you'll need, and where to begin the repair.
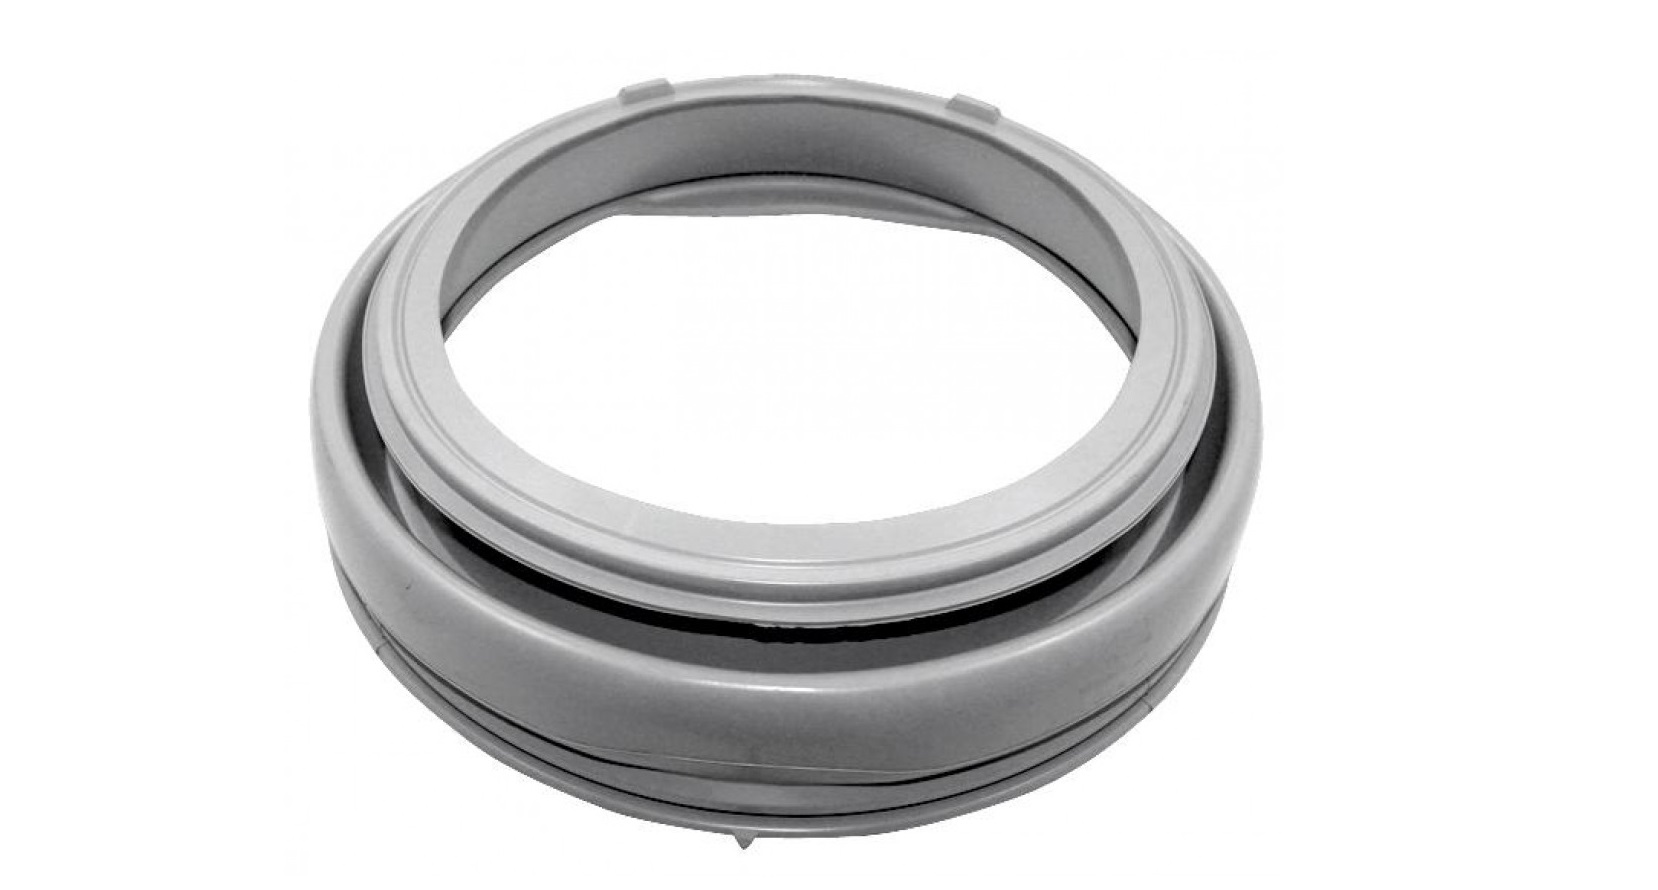
 Remove the powder compartment housing and the screws securing the front of the machine. Next, carefully remove the wall (the locking cable will be connected to it) and place it next to the machine.
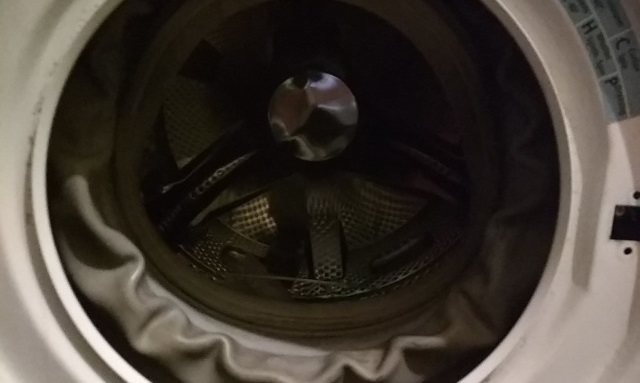


Add a comment