How to replace the control module in a washing machine?
 Some parts of an automatic washing machine are easier to replace than to repair. For example, the main electronic module. Repairing it can cost as much as buying a new one. You can replace the control module in your washing machine yourself. The main thing is to follow the instructions carefully to avoid any confusion. Let's look at how to properly perform the upcoming task.
Finding, removing and installing the board
Most washing machines have an electronic module located behind the front panel. The controller's location depends on the type of load the machine handles. The control unit is impressively large, making it difficult to miss.
The manufacturer tells you where the control module is located in the washing machine instructions.
You can remove the module yourself. The procedure is as follows:
- de-energize the washing machine;
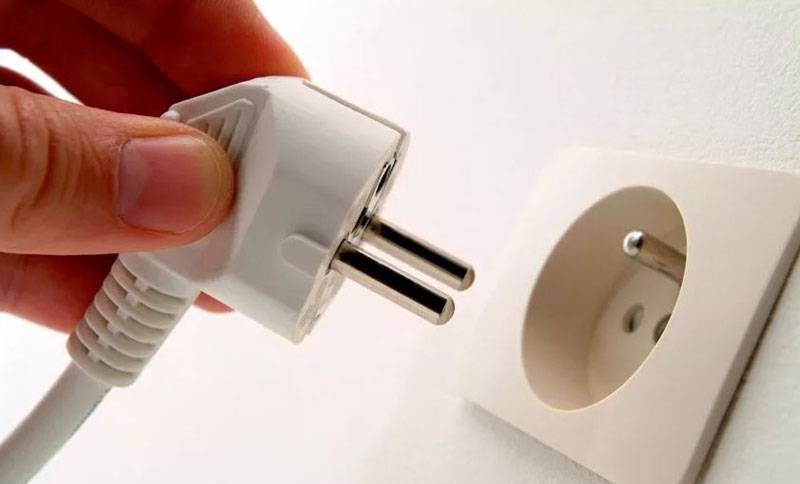
- turn off the valve responsible for the water supply;
- disconnect the washing machine from the water supply and sewerage system;
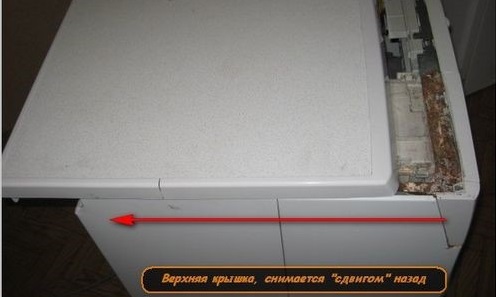
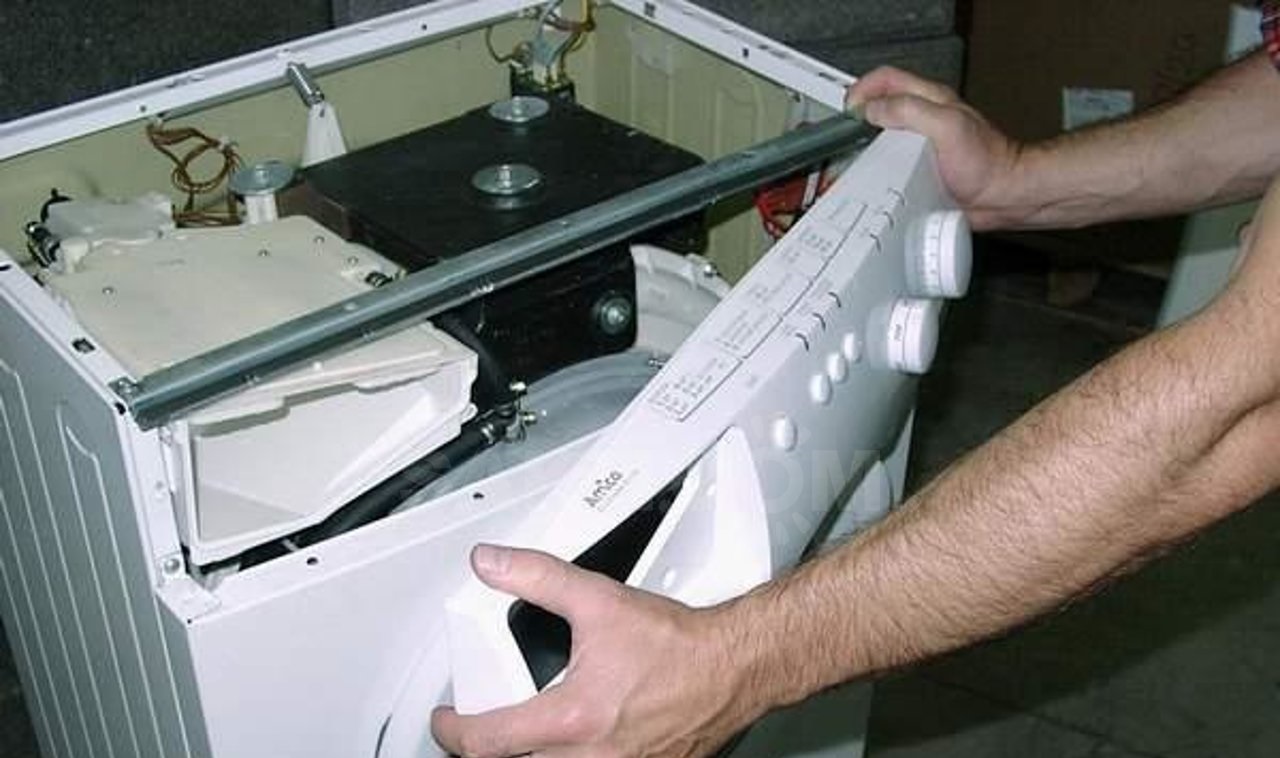
- remove the top panel of the case (to do this, unscrew a couple of bolts holding it in place, slide the cover back and pull it up);
- remove the powder container and put it aside;
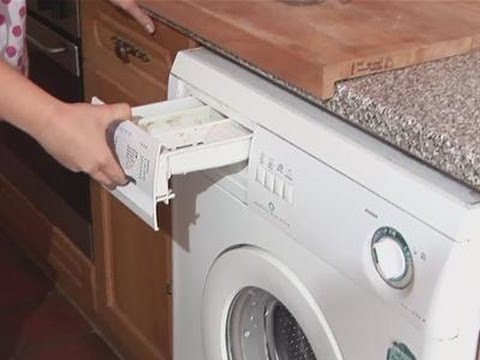
- unscrew the screws located near the dispenser hole;
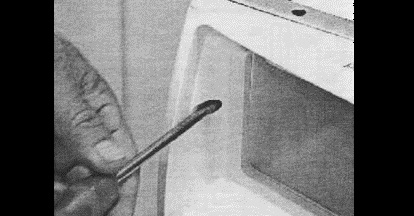
- remove the bolts holding the control panel;
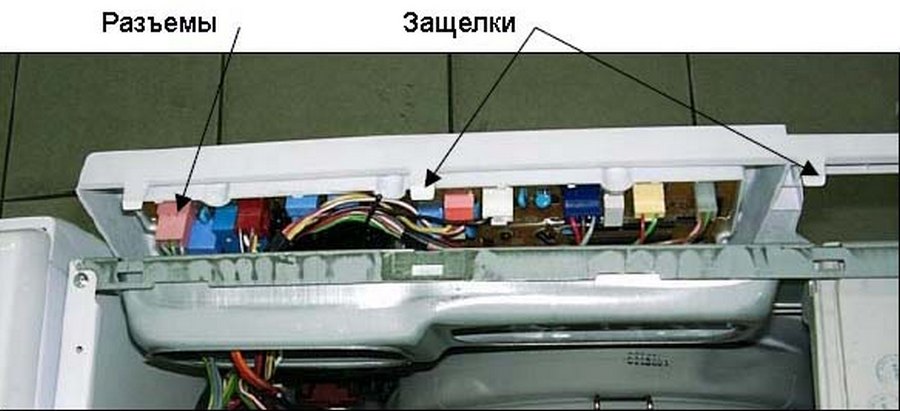
- Having dealt with the latches, carefully, so as not to tear the wires, remove the “dashboard”;
- take a photo of the wiring diagram;
- disconnect the wires from the dashboard and set it aside;
- remove the screws securing the electronic board;
- Remove the control module from the housing.
Inspect the electronic unit. If the control board is damaged, it will have burn marks, carbon deposits, rust, or mechanical defects. Sometimes, re-soldering a track or replacing a capacitor is enough to restore the module's functionality, but in most cases, repairs will be more complex and expensive.
You can try to replace the control module yourself after the warranty has expired. If it is still valid, contact the service center.
Installing a functioning, new controller is done in reverse order. First, secure the module into the housing, then connect all the connectors and wires to the control panel. Verify the correct connection of the contacts using the photographs taken earlier.
Once the case is assembled, connect the machine to the power outlet and test the operation of your "home assistant." If the "brain" responds to all user commands, the replacement has been completed correctly. Run a test cycle and observe the equipment.
Is it really necessary to change the module?
Before attempting to replace the control unit, it's worth determining whether it's actually faulty. Often, the problem isn't with the electronic module at all, but with some other broken component, which creates the illusion of a faulty controller. This is crucial, because if another component is damaged, repairing the board won't make a difference, and you'll be wasting your money.
How to diagnose a faulty electronic module? There are several typical signs of this malfunction. In 50 percent of cases, washing machines' behavior indicates a processor issue. We'll explain when you might suspect a problem with the control board.
- The machine won't spin, and the dashboard freezes and doesn't respond to user commands. The error code isn't displayed on the dashboard.
- All the indicators on the dashboard are flashing randomly, and it is impossible to select and activate a washing program.
- The washing machine allows the user to select the desired program and start the wash, but water doesn't start to fill the drum, or all the water drains out immediately. Then the machine simply freezes, and only a full reset can bring it back to life. However, if the cycle is restarted, it may proceed as normal.
- Regardless of the program selected, the machine washes for 2-4 hours without stopping, rinsing, or spinning. The pump makes no attempt to drain the wastewater from the system. After a few hours, the machine simply freezes.
- After starting, when trying to select the desired program, the machine immediately freezes and turns off.
- The wash cycle is selected, but the machine does nothing. No water is added to the system, and the drum doesn't spin.
- The motor changes the speed of the centrifuge very often.
- The heating element ignores the thermostat readings and cannot bring the water in the tank to the desired temperature, leaving it either cool or too hot.
These "symptoms" only hint at damage to the controller; to confirm the malfunction, a more in-depth diagnosis will be required.
Each of these symptoms could indicate a faulty main unit or a faulty sensor. For example, if the water in the tank isn't heating to the desired temperature, it could be a faulty heating element, not the electronic module. Therefore, it's essential to test the machine.
All modern washing machines are equipped with a self-detection system for detecting faults. First of all, it is recommended to run the automatic test of the automatic washing machine, and then, based on the error code issued, perform manual diagnostics of the sensors. How to activate the "test" mode?
Self-diagnostics are initiated differently on different washing machines. You can find instructions on how to activate test mode in the machine's manual. State-of-the-art models have a button of the same name on the control panel, and the user simply presses it.
For example, on Ardo machines that do not have a separate “Self-diagnostics” button, the automatic test is activated as follows:
- Turn the program selector to the vertical position so that the arrow points downwards;
- set the temperature to zero;
- make sure the machine drum is empty;
- Press all the buttons on the dashboard simultaneously.
During the autotest, the machine display will show a fault code that needs to be deciphered.
An error message from your washing machine will indicate either a faulty control module or a malfunctioning sensor or component in the automatic machine. If the error code translates to "damaged heating element," there's no need to mess with the electronics; simply check and replace the heating element.
An automatic test doesn't always point to a specific problem. Sometimes, after decoding the error code, the user is presented with several possible causes: a broken inlet valve, a broken wire, or a faulty control module. In these cases, each component will have to be checked manually.
You can confirm that the electronic unit is not functioning properly by testing it with a multimeter. This procedure should also be performed on other "suspect" components. All components are tested one by one, measuring their resistance. Although this is a painstaking process, it will allow you to be 100% certain that the module is faulty.
Interesting:


Readers' comments
Headings
Washing machine repair


For buyers


For users


Dishwasher


Add a comment