How to change bearings in a Whirlpool washing machine?
It's easy to spot a bearing failure – your Whirlpool will rattle, jump, vibrate heavily, and occasionally freeze. You shouldn't operate the machine with these symptoms. Failure to repair it promptly will result in serious mechanical damage, including deformation of the drum, shaft, and spider. Replacing the drum bearing can save the machine. The key is to take your time and follow the instructions carefully.
Typical signs of malfunction
There's great news for Whirlpool washing machine owners: replacing bearings on these machines is easier than on many other brands. Simply partially disassemble the machine, access the drum, and remove the bearing rings. The main thing is to notice a breakdown in time to avoid worsening the situation and leading to more troublesome and expensive repairs. If there are problems with the bearing assembly, the machine's behavior changes for the worse:
an imbalance often occurs and a corresponding error is displayed;
when the drum rotates, a hum and creaking sound are heard;
when spinning, the drum “rubs” against the walls of the tank due to significant play;
At high speeds the washing machine vibrates strongly, knocks and jumps.
Increased vibration during spinning indicates problems with the bearings!
If worn bearings are left untreated for too long, the problem can worsen, leading to failure of the spider or shaft. In this case, the repair won't be limited to a localized replacement; you'll have to dismantle the entire drum-tub assembly and buy a new one yourself. It's best not to delay; instead, address the warning signs of a Whirlpool immediately.
We get to the tank-drum unit
Replacing the bearings will require partial disassembly of the machine. But before beginning the repair, it's worth preparing the machine and work area. Disconnect the machine from the power supply and move it to the center of the room. Place a screwdriver, screwdrivers, and WD-40 nearby. Then, let's get to work.
We remove the top cover of the case by unscrewing the two retaining screws (on Whirlpool they are located at the back on the lugs).
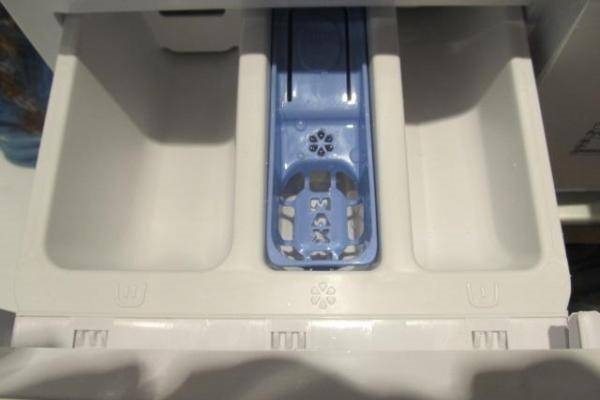
We detach the detergent tray from the body by pulling the “protrusion-handle”.
We detach the instrument panel by loosening the screws located around the perimeter.
We use a screwdriver to pry up the false panel in the lower right part of the machine and move it to the side.
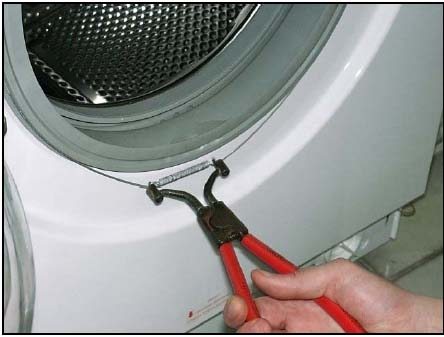
We open the hatch and loosen the outer clamp on the cuff (we carefully pry the clamp off with a slotted screwdriver).
We insert the cuff into the drum.
We find the UBL and carefully disconnect the wiring connected to it.
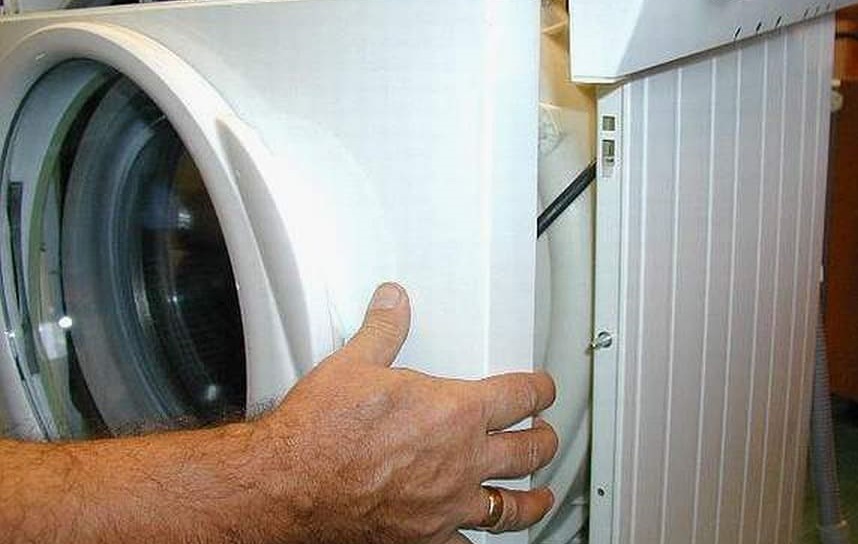
We unscrew the bolts securing the Whirlpool front panel.
We remove the front panel and put it aside.
Before repairing, the washing machine must be de-energized and disconnected from the water supply.
After removing the front panel, free access to the tank and drum will open. But you can’t immediately remove the containers from the housing – first you need to disconnect all the pipes and wires connected to them. It is recommended to follow the following sequence:
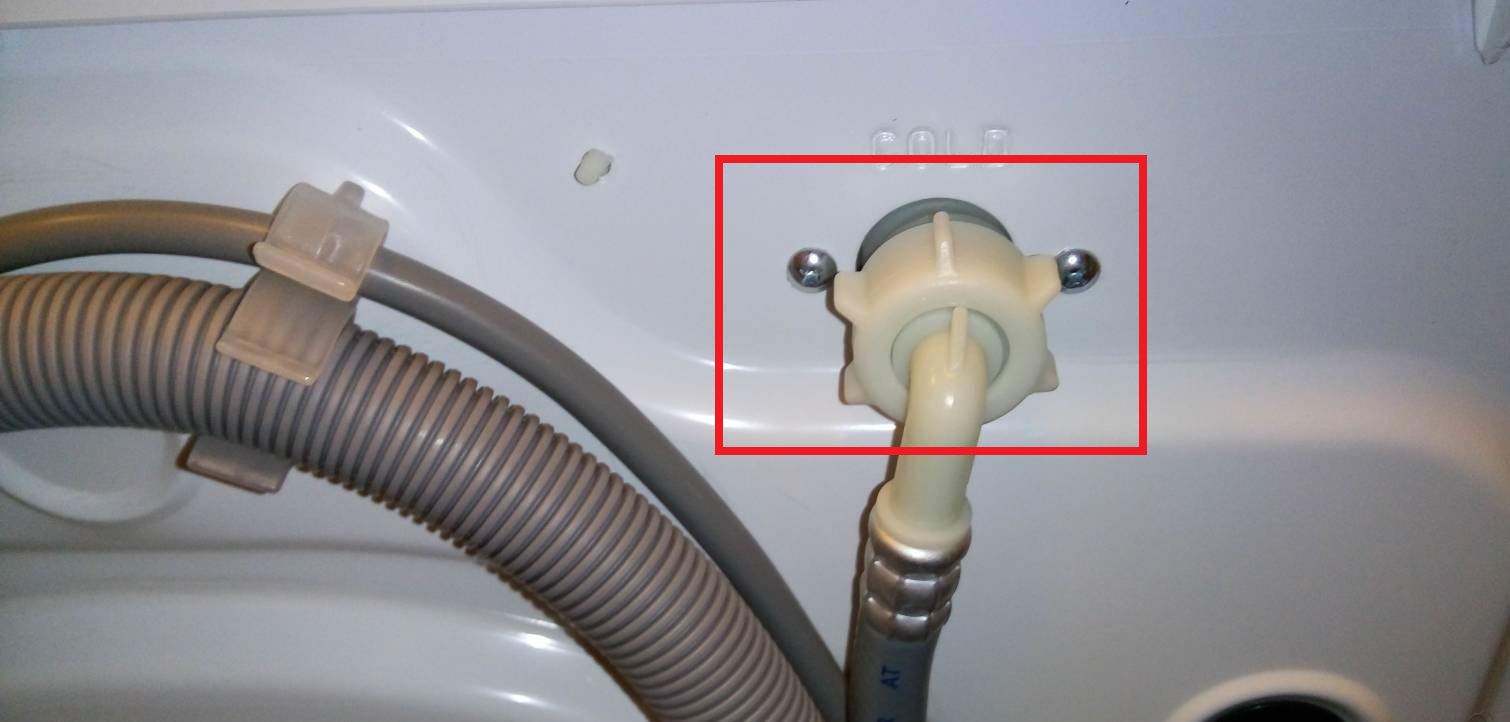
remove the filler pipe;
disconnect the pipes leading to the detergent drawer;
remove the metal false panel located behind the case;
release the counterweights by loosening the central bolts;
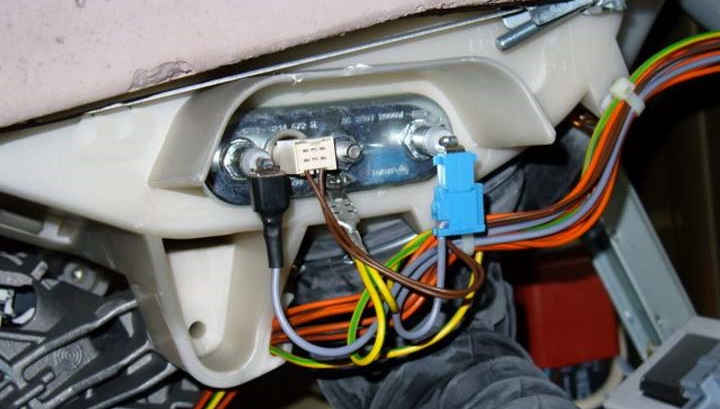
disconnect the thermistor by removing the wires from the connector;
free the heating element from the wiring and remove it from the housing;
unhook the clamps securing the plastic panel of the tank;
remove the panel.
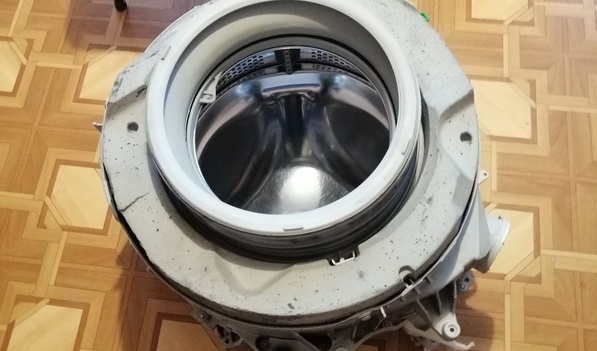
That's it! The hardest part is done – the Whirlpool washing machine is disassembled down to the tub and drum. All that's left is to remove the drive belt and the bearings from the shaft. We'll explain how to do this in more detail.
Removing the drum
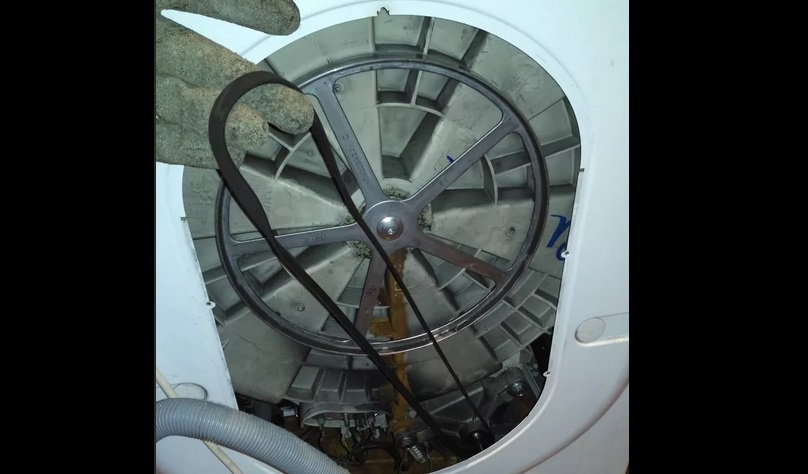
To proceed with the repair, you'll need to access the tank from both sides. The front is clear, so all that's left to do is loosen the pulley at the rear and remove the drive belt. Here's how to proceed:
unscrew the five screws holding the back wall;
we remove the drive belt from the pulley;
loosen the nut securing the pulley;
we remove the drum from the housing.
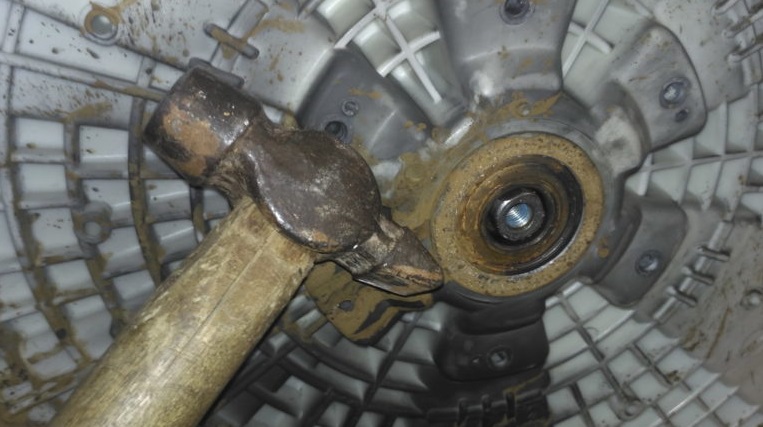
The first step is to assess the condition of the universal joint. If the shaft is free of any marks, abrasions, or chips, there are no problems with the part—you can proceed with replacing the bearings. Otherwise, you'll have to take a break first, repair the blades, or buy a new part.
If the bearing is heavily stuck to the shaft, you need to generously treat it with WD-40 and wait 15-20 minutes.
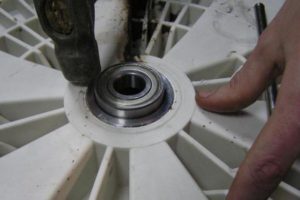
Once the universal joint is removed, we can begin replacing the bearings. The tools you'll need are a hammer, WD-40, and a drift. You can use a car puller or a blunt chisel instead. Knock the bearings out of their sockets according to the following instructions:
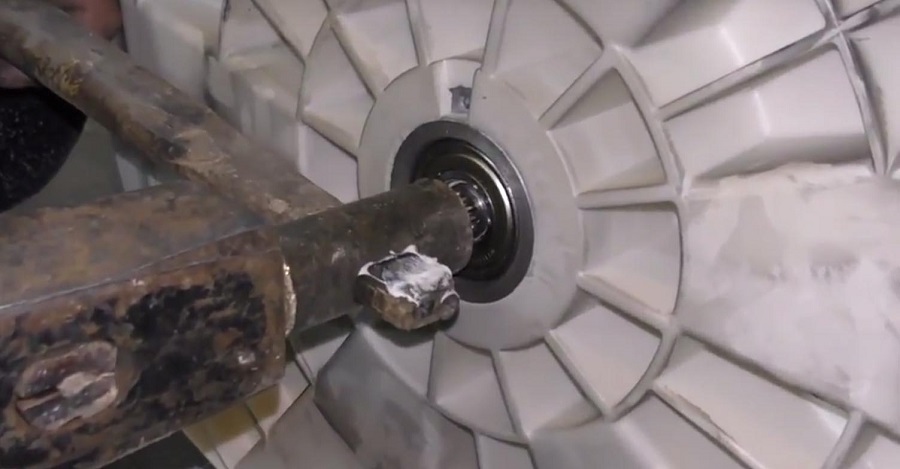
remove the oil seal, the rubber seal, by prying it with a screwdriver;
place the punch in the center of the outer bearing and, moving in a circle, tap the “ring”;
go around the washing machine and knock out the second bearing in the same way.
The dismantling doesn't end there.After removing the bearings, it is recommended to thoroughly clean the bearing seat – remove any dirt and debris, wipe with a cloth, and generously apply grease. The drum shaft also needs cleaning. After cleaning, you can replace the parts, installing new rings and seals.
Installing new parts
The first step is to purchase replacement components. To find the right parts, it's important to know the serial number of your Whirlpool washing machine. Another option is to remove the seal and bearings and provide them to the consultant as samples. This will minimize the risk of error. Once you've purchased the components, we'll begin the replacement.
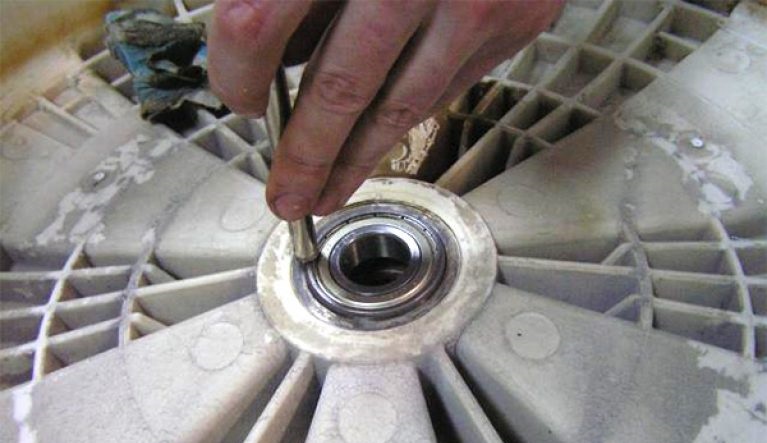
We place the smaller bearing in the seat on the outside of the tank.
We drive in the clip using a punch and a hammer, resting against the outer part of the ring.
When driving in a bearing, do not tap the inner race - this will destroy the part!
We place a larger bearing on top and secure it in the “nest” with a light hammer blow.
We drive in the clip in the manner described earlier.
We cover the parts with a layer of sealant.
We “plant” the gland on top.
We lubricate the oil seal with a special grease.
The drum bushing and shaft are treated with a special lubricant. This coating protects the unit from water and temperature fluctuations, extending the life of your Whirlpool washing machine.
After a successful replacement, we begin reassembly. We secure the drum, replace the pulley, tighten the drive belt, and screw the back panel back on. Next, we move to the end, reattaching the previously disconnected components: the heating element, the control panel, the detergent drawer, and so on down the list. Finally, we connect the appliance to the power supply and run a test wash. If the vibration and hum disappear, everything has been done correctly.
 It's easy to spot a bearing failure – your Whirlpool will rattle, jump, vibrate heavily, and occasionally freeze. You shouldn't operate the machine with these symptoms. Failure to repair it promptly will result in serious mechanical damage, including deformation of the drum, shaft, and spider. Replacing the drum bearing can save the machine. The key is to take your time and follow the instructions carefully.
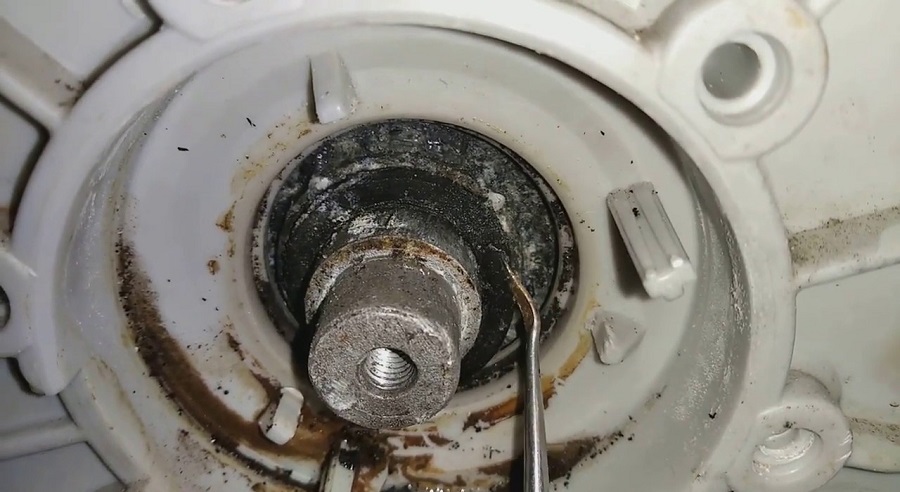


Add a comment