How to replace a rib in a washing machine drum?
 The drum fins of an automatic washing machine are crucial for ensuring maximum cleaning efficiency. The paddles rotate the items inside the machine, allowing the machine to remove all dirt from the fabric. Without these paddles, washing would be a simple rinse. Sometimes, replacing the drum fins may be necessary. We'll explain the different types of paddles, their purpose, and how to replace them yourself on front- and top-loading machines.
What types of bump stops are there and why are they needed?
It's easy to notice that the drum rib needs replacing. This problem is visible to the naked eye. Just look inside the machine. There are two possible solutions:
- the redan has “come off” from the surface of the drum and is no longer held in its usual place;
- The bump stop is not securely attached and moves when pressed.
In any of these situations, it is better to immediately repair or replace the drum rib. Bumpers must be purchased for a specific model of washing machine. For example, top-loading Indesit and Ardo washing machines are equipped with three counterweights: two hollow counterweights and one heavy counterweight (which functions as a balancer). If the counterweight is damaged, it's essential to replace it with a new counterweight.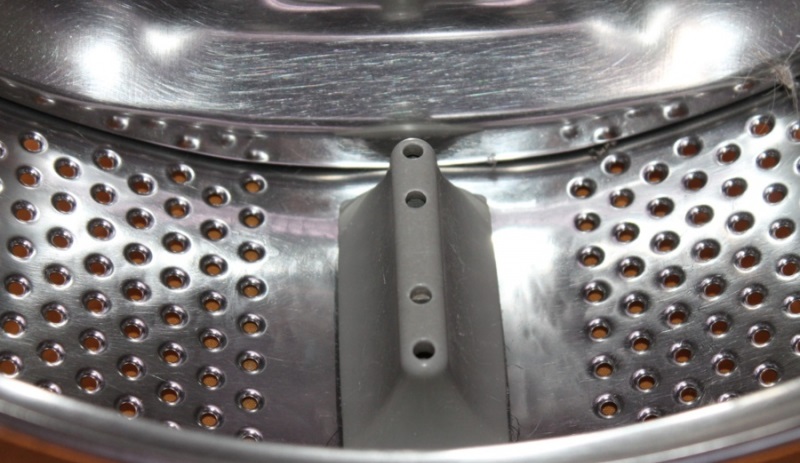
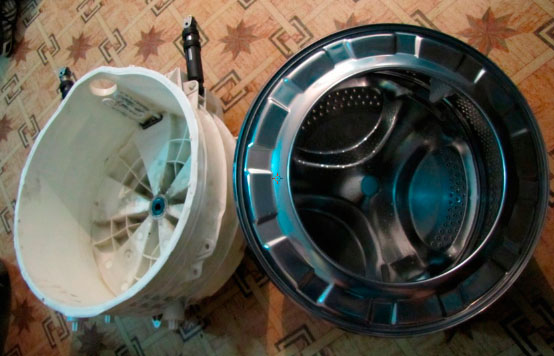
The vast majority of front-mounted machines use only hollow blades. This eliminates the need for expensive, heavy-duty bumpers, so component costs are lower. However, access to the mounting hardware is more difficult. Bosch and Brandt vertical machines use a flat step. These models only have one rib.
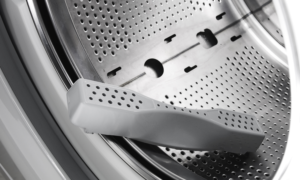
What are the bumpers in a washing machine's drum for? During the washing process, the bumpers ensure the movement of laundry within the machine. Items are "thrown" from one edge to the other, thereby "beating" the clothes, making the washing process more efficient.
If there are no baffles in the drum, the washing efficiency will decrease by 50-70%.
Moreover, if even one bumper falls off, the laundry will become caught in the drum. The surface is equipped with special fastenings for the bumpers, which are quite sharp and can damage items. Therefore, it's important not to start a wash cycle until the bumper is replaced.
Typically, ribs fail due to foreign objects getting caught in the blades: bra underwires, paper clips, small keys, etc. When these objects fly under the bumper, they break the plastic fasteners, causing the rib to fall off. You can replace the component yourself.
We replace and repair the bump stop on a vertical lift
The process for replacing the bumper guard will differ for front-loading and top-loading machines. First, we'll explain how to remove the old bumper guard and install a new one on a top-loading machine, using a Brandt washing machine as an example.
Before starting work, be sure to disconnect the washing machine from the power supply.
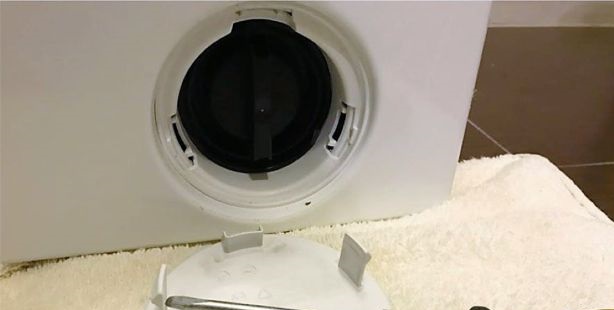
The Brandt top-loading washing machine has a single flat stopper. It's located at the bottom of the drum. To remove the stopper, you only need a screwdriver. Once you've got the tool ready, you need to:
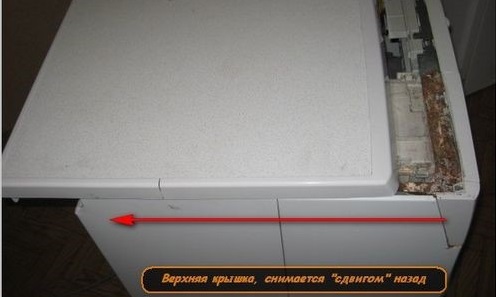
- lift the top cover;
- open the drum flaps;
- Use a screwdriver to press on the special hole located on the surface of the bump stop;
- Move the edge to the side, following the arrows as guidance.
Install the new bumper in reverse order. The fasteners should fit into the grooves, ensuring the rib is securely fixed to the drum surface.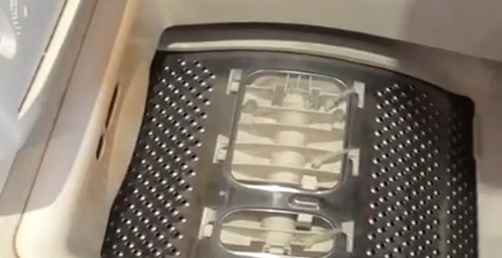
If a foreign object has damaged only one blade mount, it's not necessary to buy a new one. To save money, you can repair the old bumper. Turning the vertical skid plate over reveals numerous stiffening ribs.
On the side without the factory fasteners, you'll need to drill the reinforcement ribs in three planes. These holes are necessary to secure the bump stop with disposable clamps. On the side without the broken latches, you won't need to resort to this measure.
To install a “repaired” redan, you need to:
- open the drum flaps and put the bump stop in its place so that the remaining factory fasteners fit into the grooves;
- close the centrifuge and turn it until the place where the rib punch is attached is on top;
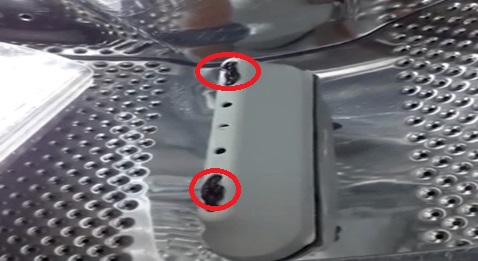
- secure the redan by threading the clamps through the holes in the drum and the holes drilled in the stiffeners.
The clamps should be secured as shown in the picture. The clamps should be tightened securely, and the remaining ends should be snipped off with pliers. After this manipulation, the bump stop will be securely in place.
Do not use poor quality clamps, otherwise it will be impossible to achieve a secure fit of the bump stop.
We replace and repair redans on the front-end
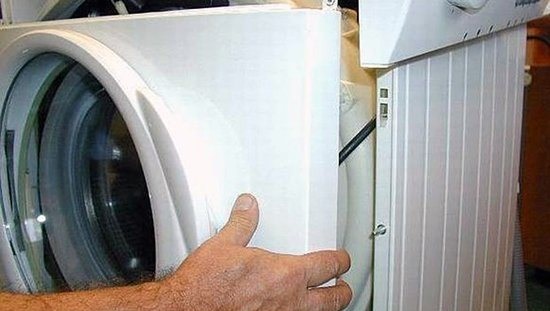
Replacing the drum fins on front-loading washing machines is much more difficult. Installing new fins requires removing the drum from the machine, meaning almost complete disassembly of the "home helper." This is a rather labor-intensive process.
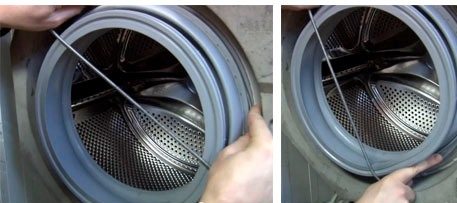
If the drum is only slightly loose, it can be repaired. This way, you won't have to remove the drum from the machine. To secure the bump stop, you will need regular metal wire with a soft rubber braid. The process of attaching the rib will take no more than 5-10 minutes. The procedure is as follows:
- de-energize the machine;
- open the hatch door and illuminate the drum with a flashlight or lamp;
- straighten the edge that is not firmly in place;
- insert the wire into the nearest hole of the redan, pass it under the drum and pull it out through the far hole of the bumper;
- Tighten the knots firmly on both sides;
- “Hide” the sharp ends of the wire in the adjacent holes of the redan.
If the bumper has come off completely, or you simply want to replace a damaged blade, you'll need to remove the drum from the washing machine to install the new part. To do this:
- disconnect the machine from the water supply and sewerage system;
- drain the remaining water from the system through a waste filter;
- remove the top cover of the case;
- remove the lower false panel;
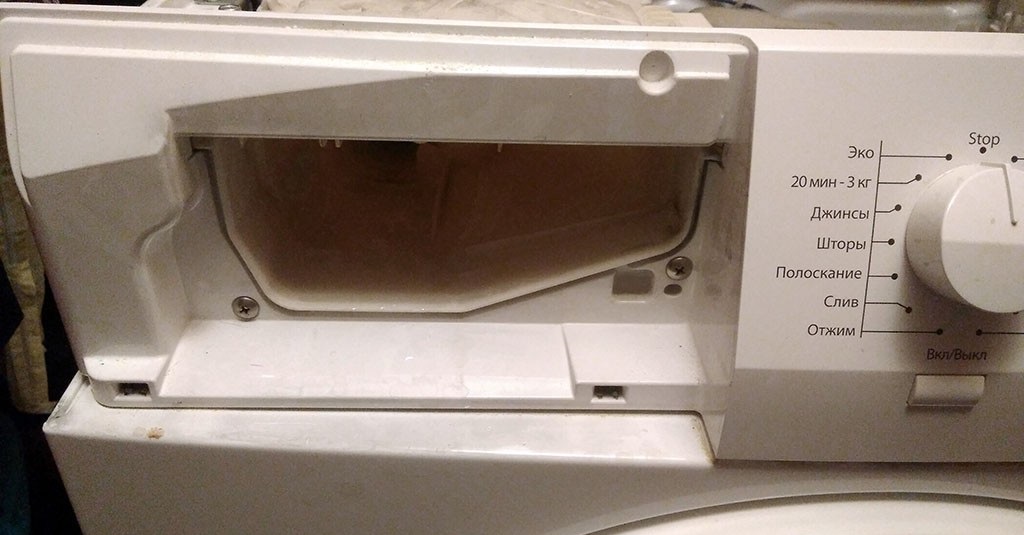
- remove the powder receptacle;
- unscrew the control panel bolts and remove the instrument panel;
- remove the hatch cuff;
- remove the door locking device;
- remove the front wall by unscrewing the screws holding it;
- remove the back panel of the case;
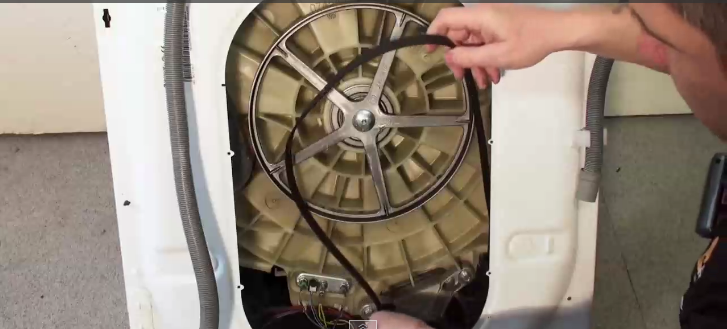
- remove the drive belt;
- disconnect the wiring from the heating element;
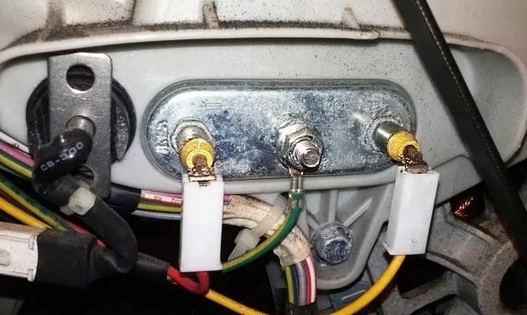
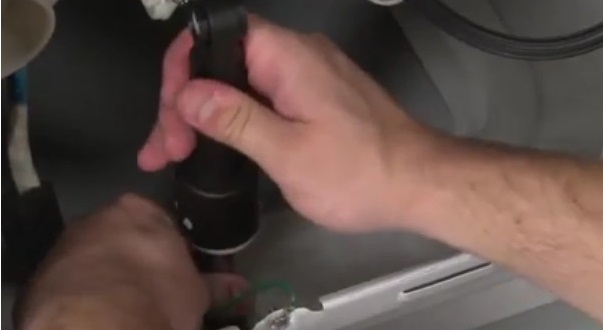
- disconnect the power wires from the motor, remove the engine;

- disconnect all hoses and pipes from the tank;
- remove shock absorbing elements;
- pull out the tank;

- disassemble the tank, removing the mounting bolts and loosening the latches;
- unscrew the screw and remove the pulley;
- remove the drum from the plastic container.
If your washing machine's tank is non-detachable, you will have to saw the reservoir apart.
If a damaged rib needs to be removed, straighten the special fastening tabs on the outside of the drum. If the bumper can't be removed this way, you'll need to use a heat gun. Direct a stream of hot air at the rib; the plastic will become soft and more pliable, making it easier to remove.
The new step is installed in a similar manner. If the bumper doesn't fit, you can also blow one of its edges with a heat gun and sand the wall. The fasteners are inserted into the grooves, and then the retaining tabs are bent. Reassembly of the washing machine is performed in reverse order.
Interesting:


1 reader comment
Add a comment
Headings
Washing machine repair


For buyers


For users


Dishwasher


This is a scam to get your car repaired and rip you off. Everything is done without disassembling it; see other recommendations.