How to change the cuff on an Atlant washing machine?
 Replacing the rubber door seal on an Atlant washing machine isn't as difficult as it might seem. The entire process takes no more than an hour, and removing the old seal requires minimal tools. We'll detail the steps for installing a new seal and explore the causes of gasket failure.
How to remove a damaged rubber band?
Almost any washing machine owner can remove the drum seal and install a new one. Therefore, if you notice a damaged seal, don't panic and call a technician. You can easily replace it yourself without overpaying for labor.
The first step is to purchase a new door seal that perfectly matches the damaged one. To do this, you'll need to tell the store the model and serial number of your Atlant washing machine. It's even better to refer to the markings on the seal itself.
Before starting dismantling, it is important to de-energize the machine and turn off the water supply tap.
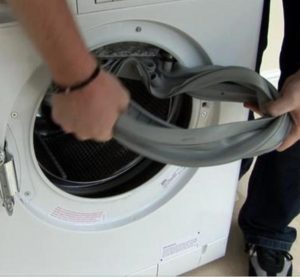
Next, it's a good idea to wipe the unit's body with a dry cloth. After that, you can begin removing the rubber seal. The procedure is as follows:
- open the hatch door;
- Feel for the outer and inner retaining clamps. If the ring is plastic, locate the latch, loosen it with a screwdriver, and pull the rim forward. If the clamp is metal, you'll need to loosen the screw and engage the spring with a flat-head screwdriver.
- remove the retaining rings from the machine;
- carefully pull the front part of the cuff away from the body;
- Find the mounting mark (it indicates how the rubber band should be positioned relative to the drum). This is usually indicated by a characteristic protrusion;
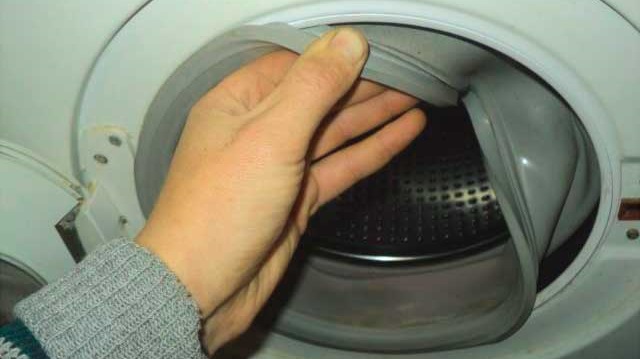
- Use a pencil to mark a similar mark on the body;
- Pull the elastic completely out of the groove.
So, you can remove the old, worn-out cuff with your own hands. Before installing a new rubber gasket, it is important to clean the seat from plaque, accumulated dirt, and powder residue. A regular, heavily soaped sponge will do the job. After cleaning, there's no need to wipe the sealing lip dry—the detergent remaining on the surface will act as a lubricant and facilitate the installation of the new seal.
The nuances of installing a new part
Replacing the seal requires some effort. Reinstalling the seal onto the drum is somewhat more difficult than removing it. The very tight factory rubber will resist installation, which will be the main difficulty of the installation process. To make reinstalling the rubber seal easier, follow these steps:
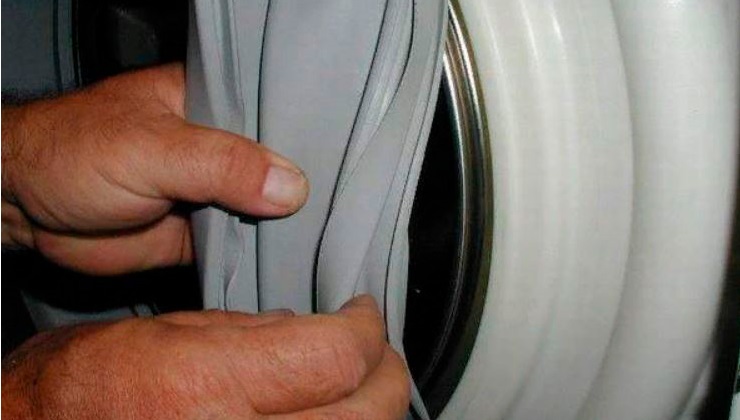
- apply the cuff to the seat so that the mounting marks on its surface and the tank coincide;
- start installation from the outer part, hold the already put on section of the rubber band with one hand, and pull the seal onto the protrusion with the other;
- tighten the inner edge of the cuff to the edge of the tank;
- Feel the gasket around the circumference, make sure that it fits tightly on the edge and fits well against the body of the automatic machine;
- Check that the mounting marks are aligned. If there's any obvious misalignment, you'll need to remove the seal and re-tighten it.
On Atlant washing machines, the seal can be replaced without removing the front panel. However, for better access to the inside of the machine, you can remove the front panel.
Once the seal is in place, it should be secured with rings. Installing the inner clamp is more difficult. The installation method directly depends on the type of latch. If the rim is metal, you need to loosen the screw "lock," secure the element to the cuff, and tighten the fasteners.
If the latch is plastic, you need to loosen the clamp by pressing on the junction of the "tongues," replace the rim, and secure it inside. If the machine has a wire fastener, you'll need to stretch it around the circumference, tighten the ends with pliers, and hide the resulting knot in a special hole in the seal. Working with a spring tensioner is more difficult. Insert a thin screwdriver into the groove of the door lock, pry up the spring, and slide the clamp on.
The final step is attaching the outer clamp. The rim is installed and secured in place. It's important to understand that only old, defect-free clamps can be reused. If there is damage or the ring is deformed, be sure to replace it with a new one.
If done correctly, the cuff and clamps will fit snugly against the body. Afterward, it's important to check the system's tightness. To do this, run an empty wash cycle and select the shortest cycle that requires water to fill, such as "Rinse." If there is no leakage from under the hatch door and it is dry under the machine, then the rubber seal has been installed correctly.
When you see droplets or even trickles of water leaking under the hatch on the housing, you'll need to work on the seal further. Check how tightly it fits against the edge and tighten the clamps more firmly. If this doesn't help, you'll have to remove the seal and reinstall it.
Why does the rubber band break?
To avoid replacing the seal every month, it's important to identify the cause of its damage. Natural wear and tear does occur, but more often than not, the seal fails due to user error.
Every part of an Atlant washing machine has a specific service life. A rubber seal can last for several years. Defects on the seal sometimes appear earlier due to careless handling of the machine. There are several possible causes of premature seal failure: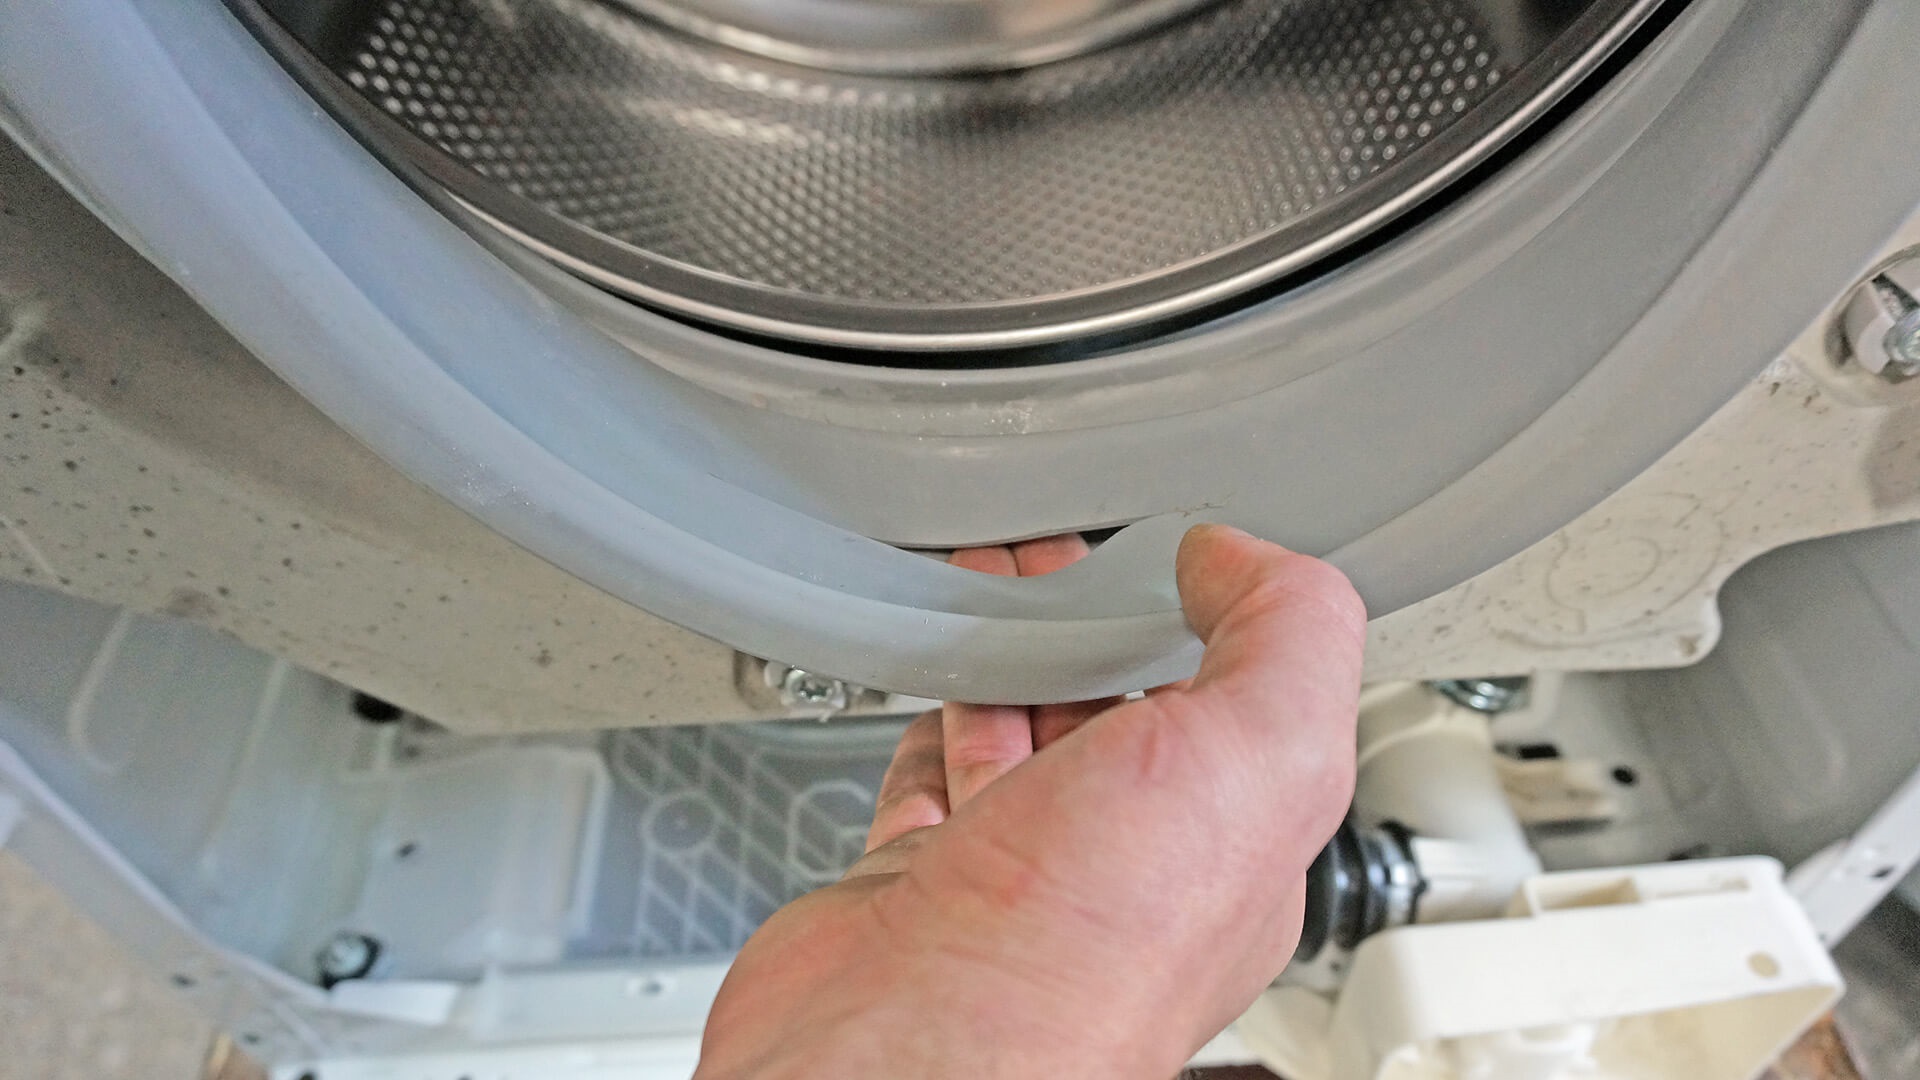
- a sharp, metal object (bra underwire, nail, paper clip, button, keys) gets into the tank;
- constant friction against clothing (if the permissible drum load weight is exceeded), against heavy items, and against machine-washed shoes;
- the formation of mold on the surface of the cuff, “eating away” the gasket;
- careless loading and unloading of laundry from the drum, which can damage the seal;
- very frequent washing at high temperatures;
- strong vibration of the body during the cycle.
Aggressive detergents used for washing also have a negative impact on the hatch door cuff.
Careful use of the Atlant machine will help avoid accelerated deterioration of the rubber seal. After each use of the machine, it is necessary to wipe the cuff dry and ventilate the drum to avoid the formation of mold. Always check pockets before loading items to ensure no foreign objects fall into the washing machine. It's also important to use high-quality detergents and not exceed the manufacturer's recommended dosages for detergent and fabric softener.
It's best to periodically inspect the seal for defects. Even a small crack can lead to a seal failure and leakage. If replacing the seal immediately isn't possible, you can repair it yourself by covering the damaged area with a special rubber patch. However, this is a temporary measure; the defective gasket should be replaced as soon as possible.
You can't mess around with a washing machine's seal. Therefore, at the first sign of trouble, you should remove the damaged seal and install a new one. Moreover, you can repair it yourself without overpaying a technician.
Interesting:


Readers' comments
Headings
Washing machine repair


For buyers


For users


Dishwasher


Add a comment